White Mountain Peak (14,252′) stands above every other highpoint in Mono County, the White Mountains, and is just 250′ shorter than Mt. Whitney, the tallest peak in the contiguous United States at 14,505′. Its claims are impressive, but the climb isn’t as demanding or romantic as some of its Sierra neighbors. In fact, the most popular route takes hikers up a gravel 4WD road straight to the summit.
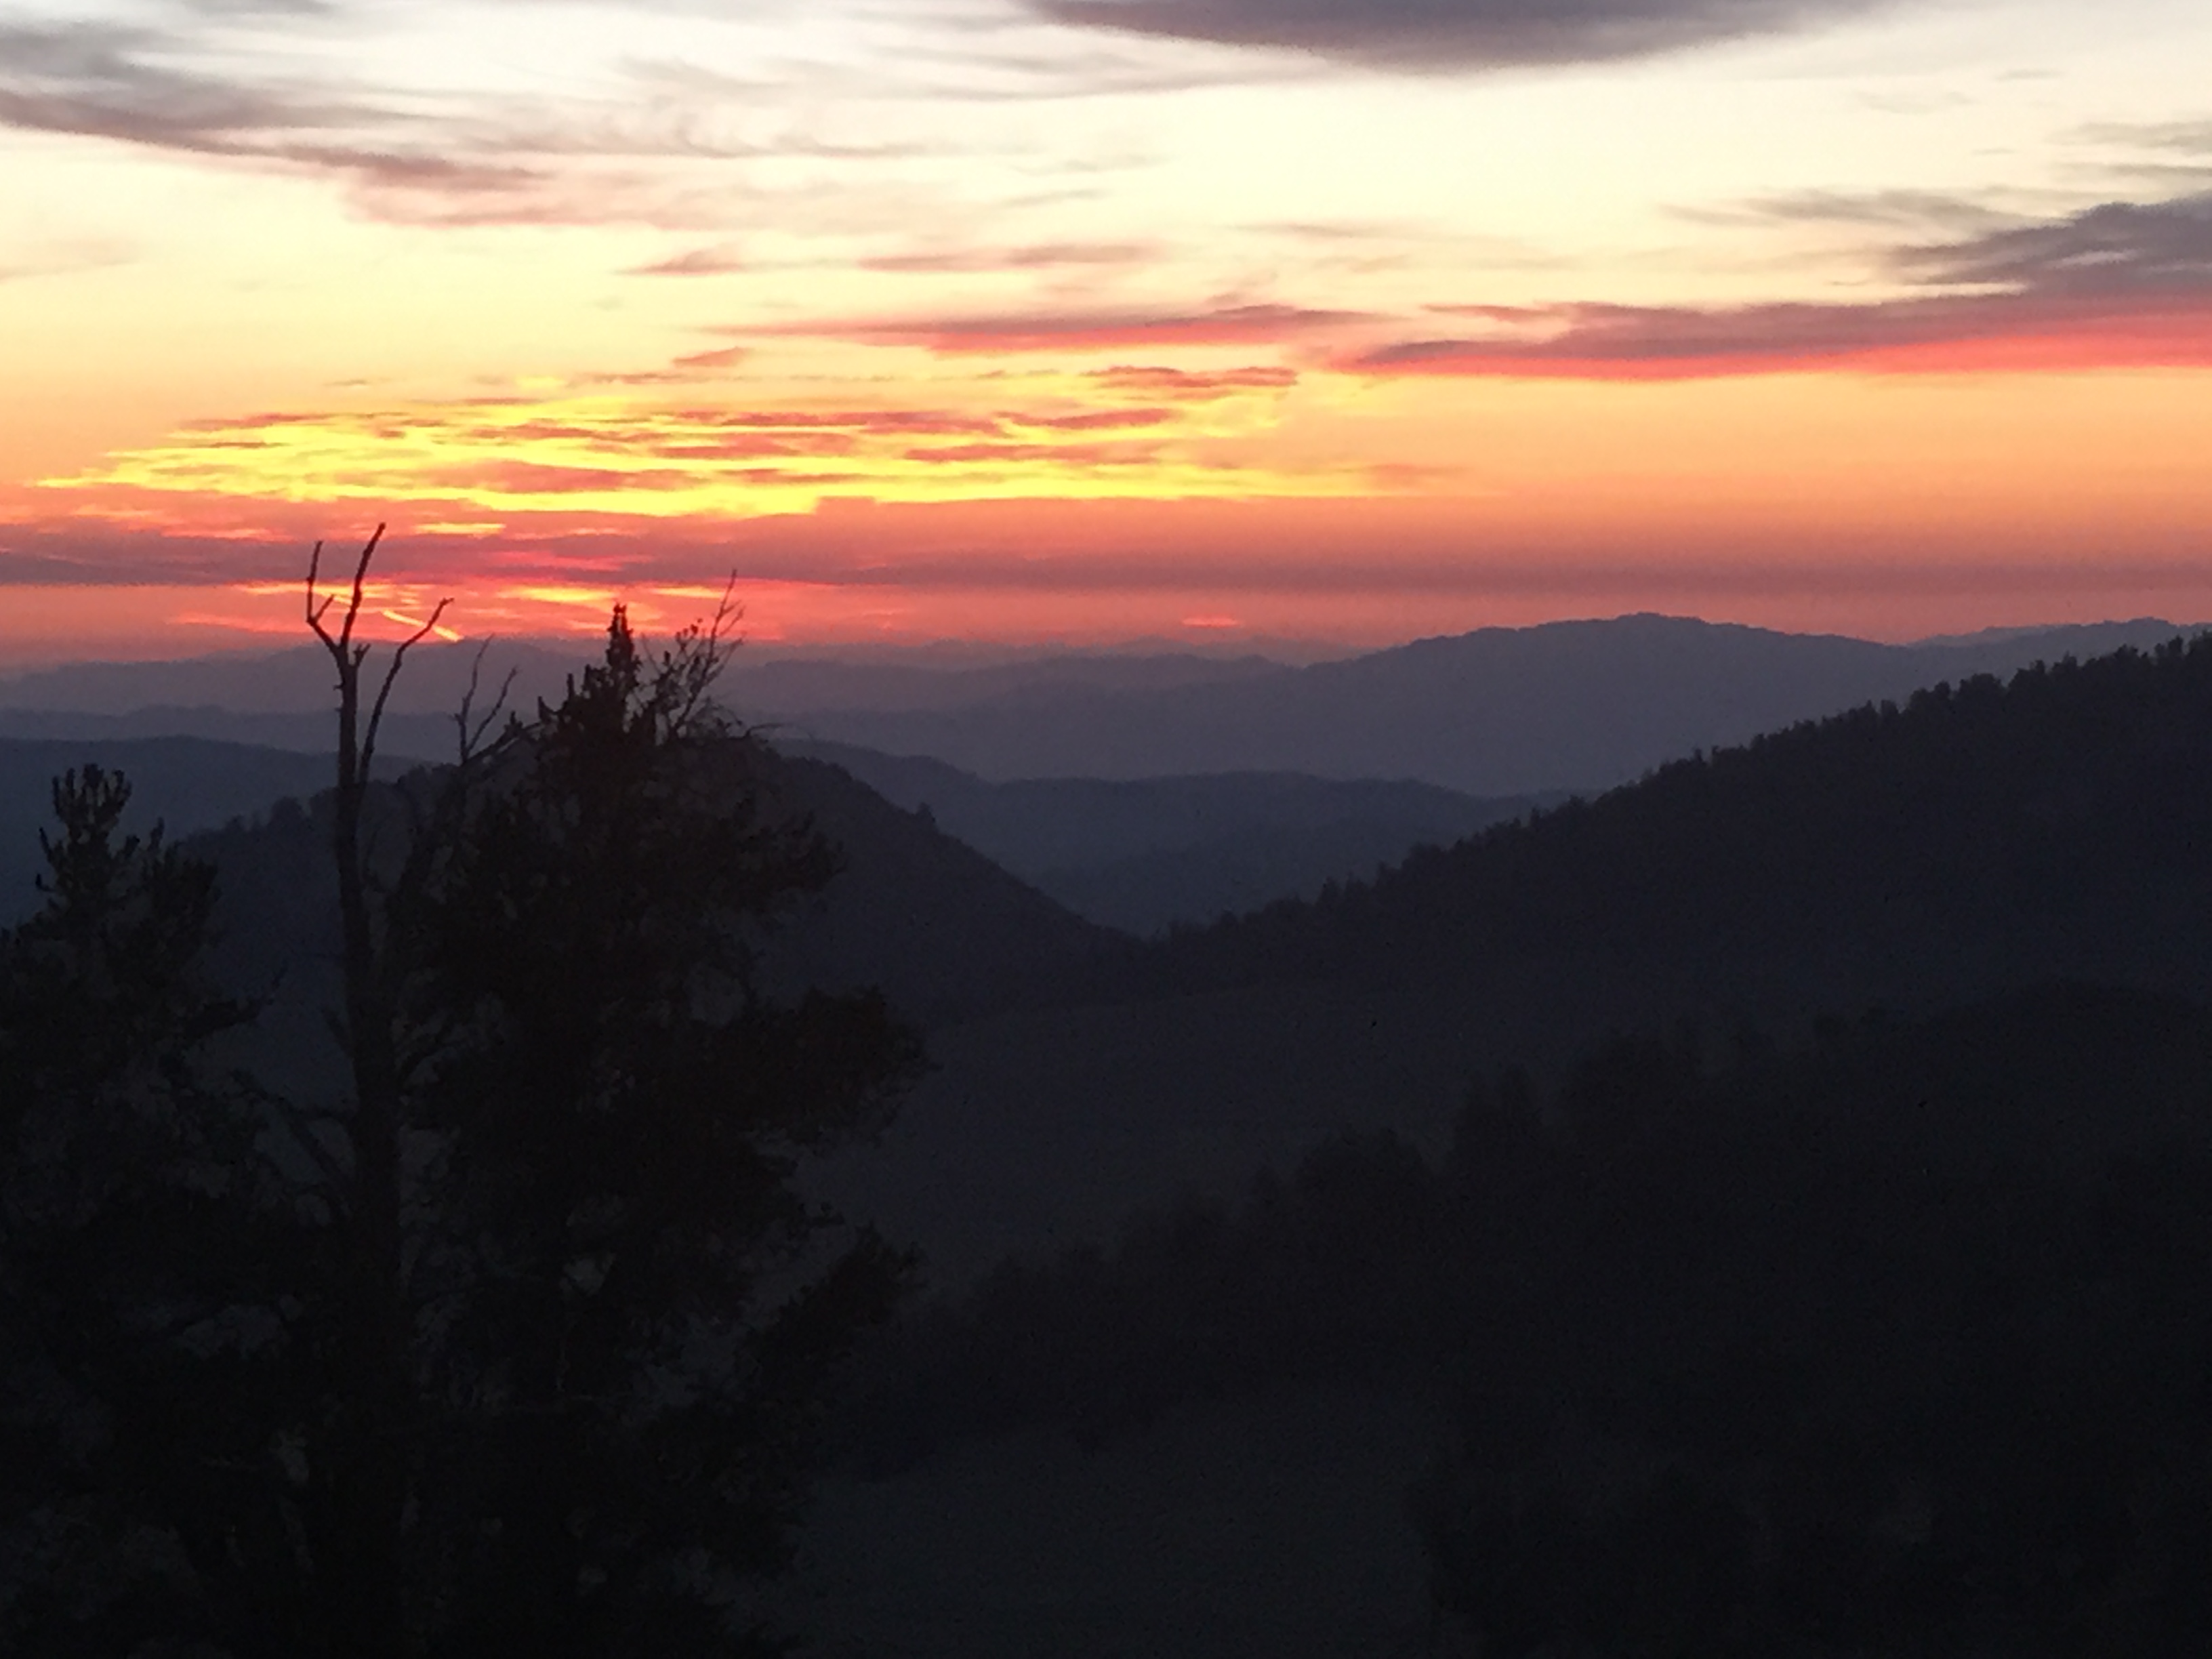
Sunrise over the White Mountains.
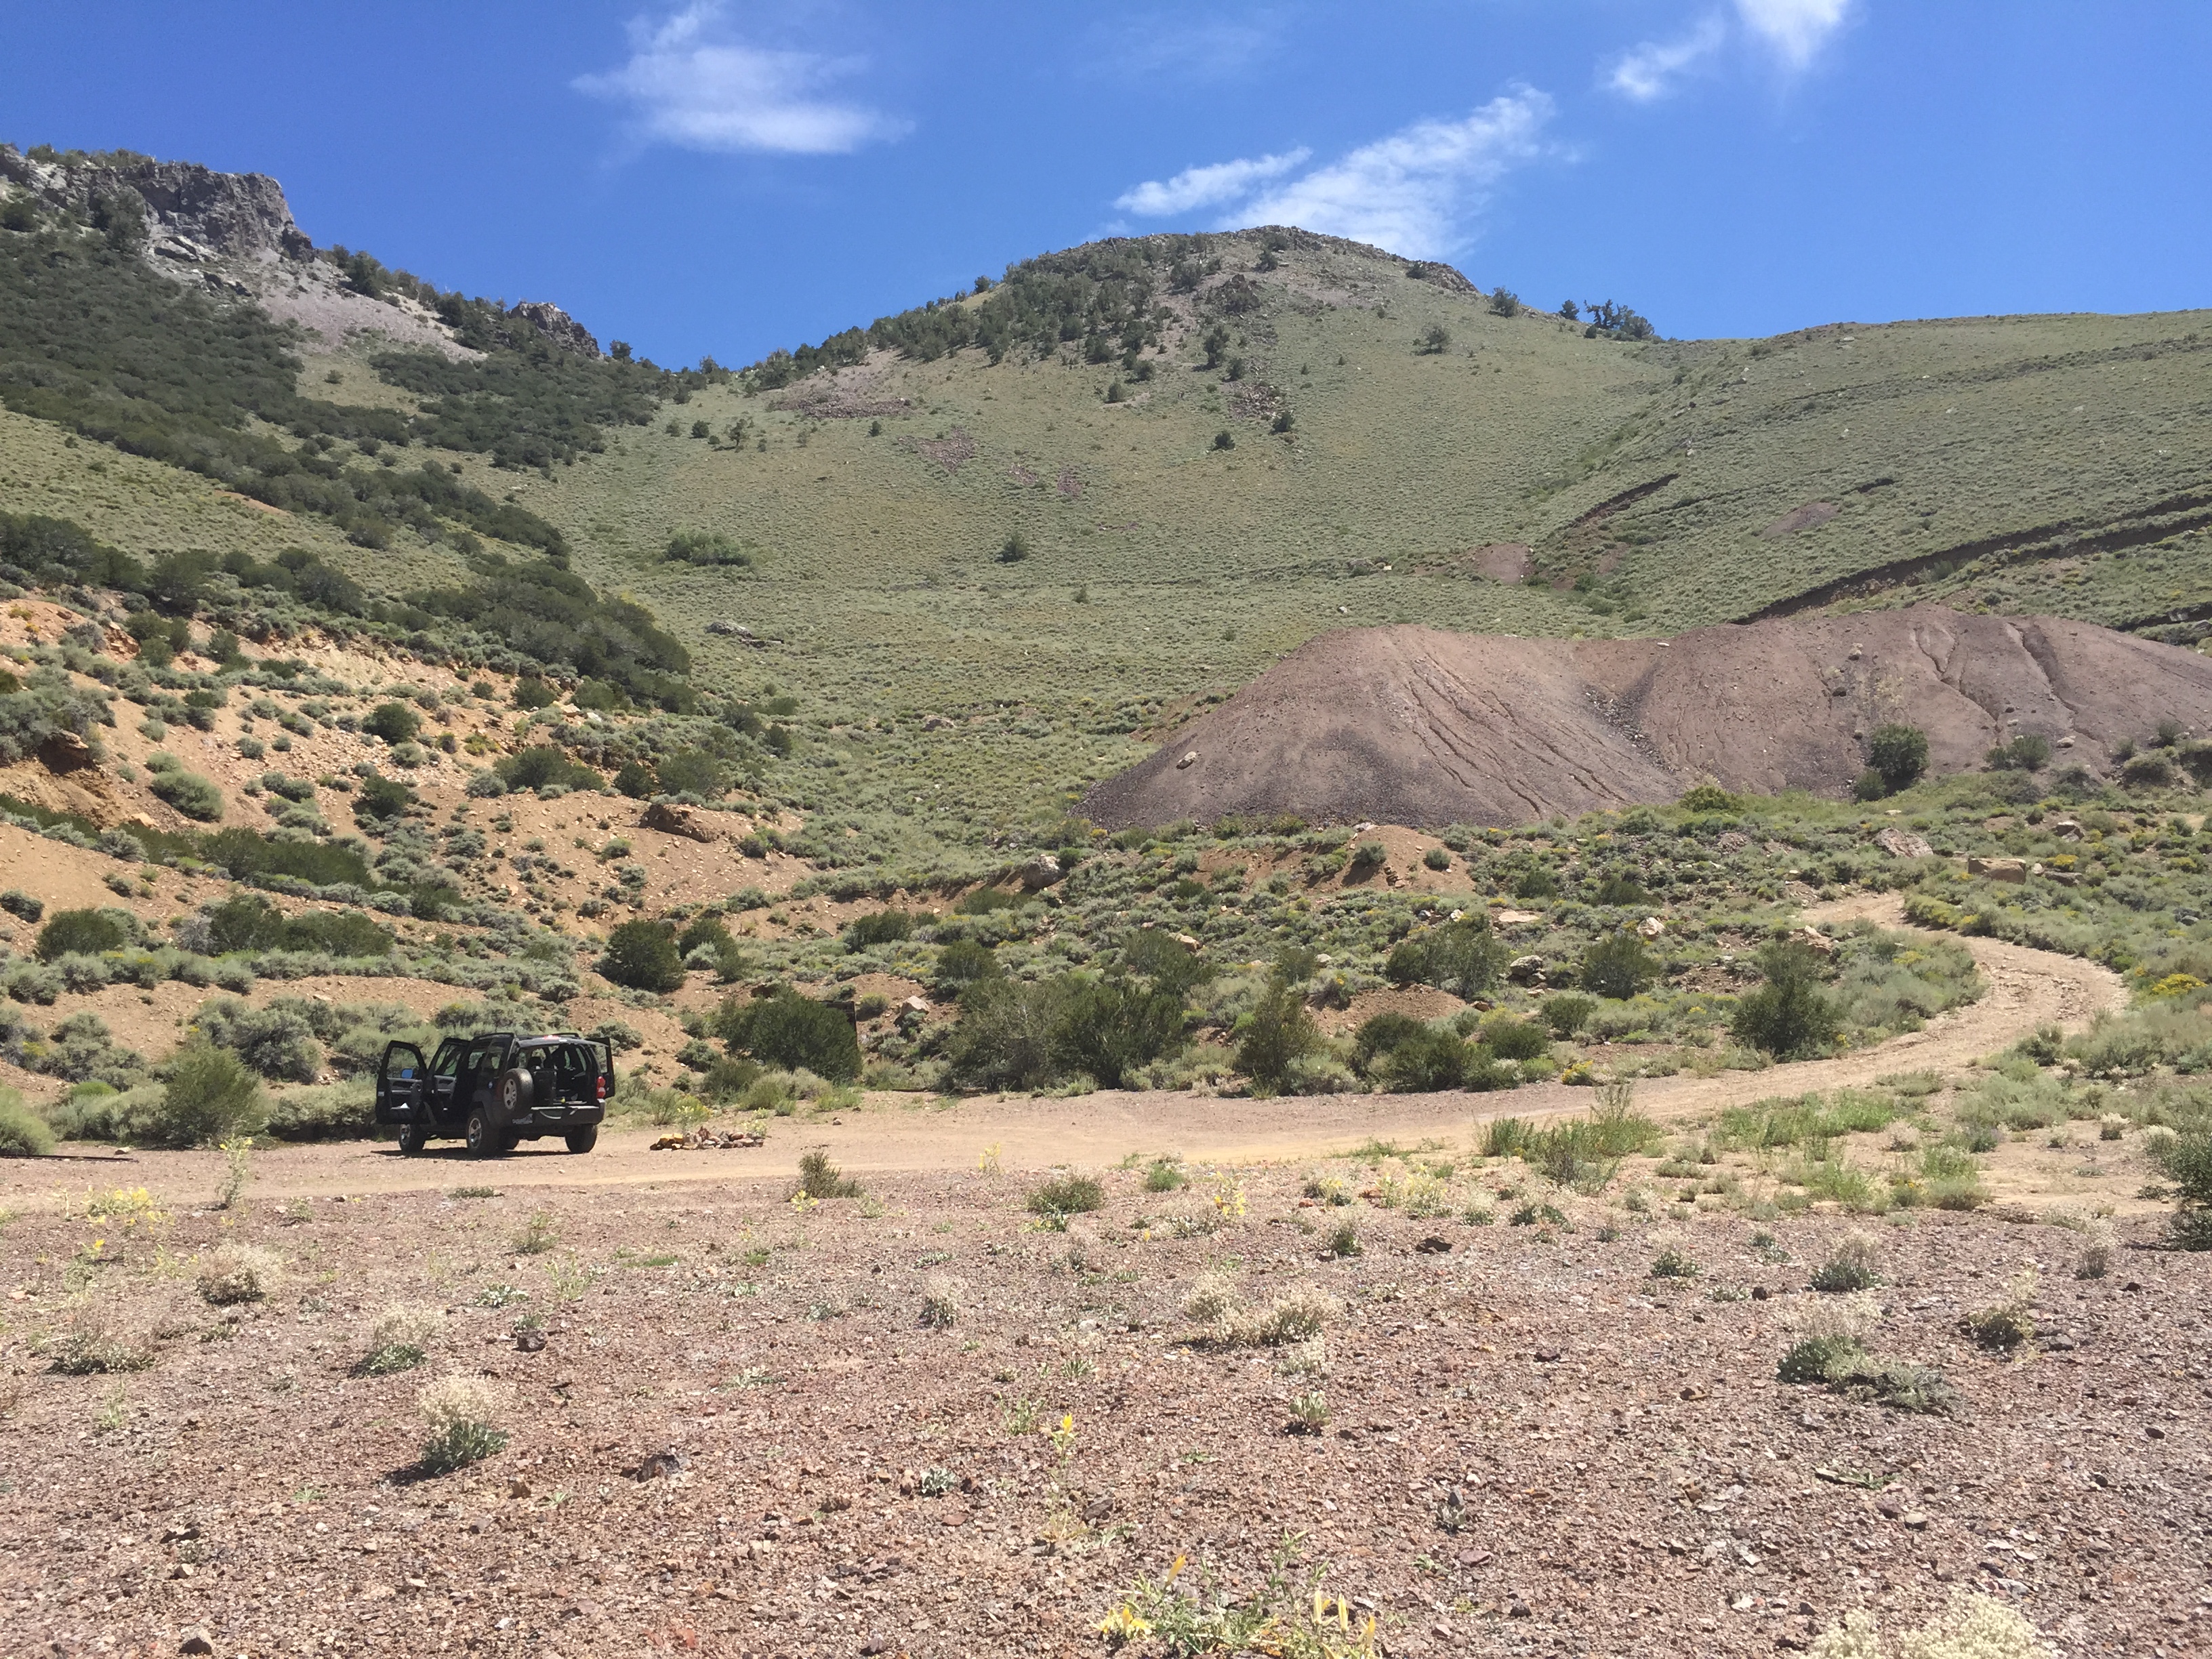
Neither of us were completely prepared for the drive in to the White Mountain Peak unofficial trailhead. We’d slept at the cozy climbing-themed Hostel California in Bishop the night before, and took off towards Big Pine at 4:45am. Heading south on US-395, we turned left (east) onto US-168, which is a windy two-lane road that ascends into the White Mountains. After 13 miles on this highway, we found the clearly-marked White Mountain Road on our left (north). This road starts off nicely paved, continuing for 9.5 miles to Schulman Grove, where the pavement ends and a 17-mile 4WD gravel road begins.
Now, for contrast’s sake, the National Forest Service declares the 6-mile road leading to the Queen Mine route of Boundary Peak to be a 2WD road – but we found the White Mountain Road to be in much better shape and much more passable than Boundary’s (you can read that blog post to get a better idea of what we put my Jeep Liberty through). Either way, those 17 miles on gravel stretched out a lot farther than we initially expected, and we didn’t reach the parking area at Barcroft gate until 6:30am – making our total travel time from Bishop 1 hour & 45 minutes.
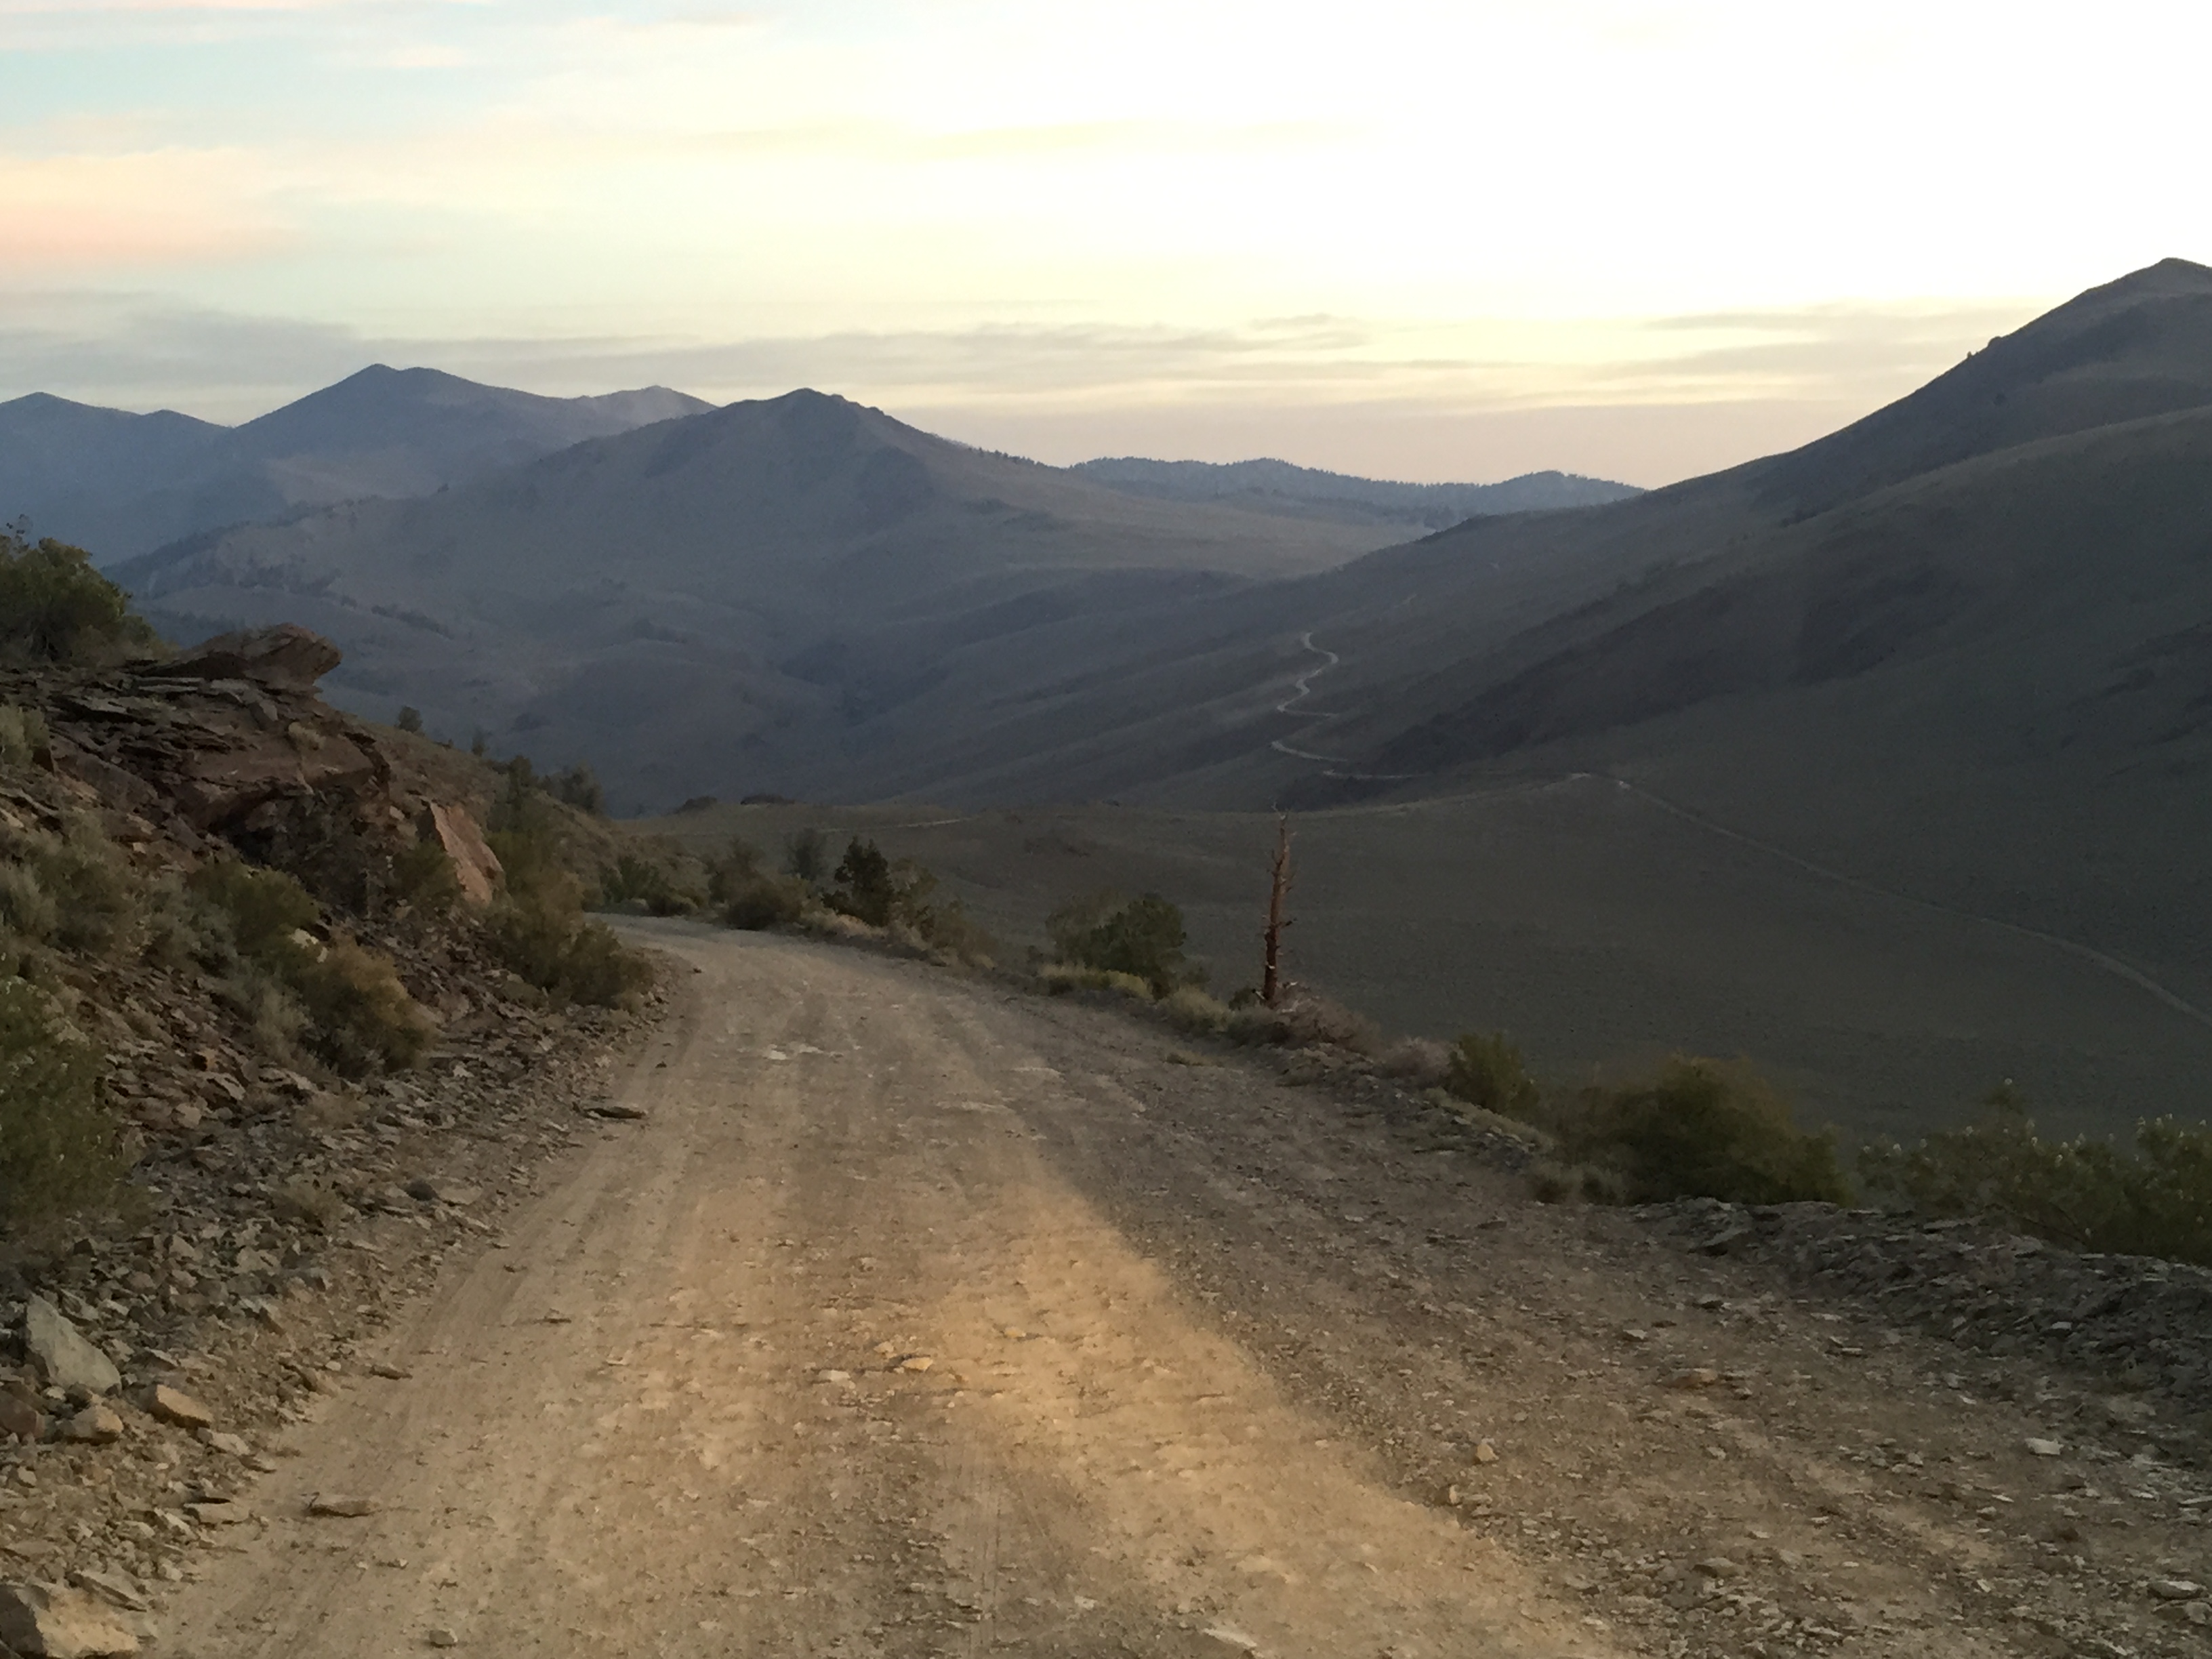
Far-off views of the long, windy 17-mile road that takes you to Barcroft gate.

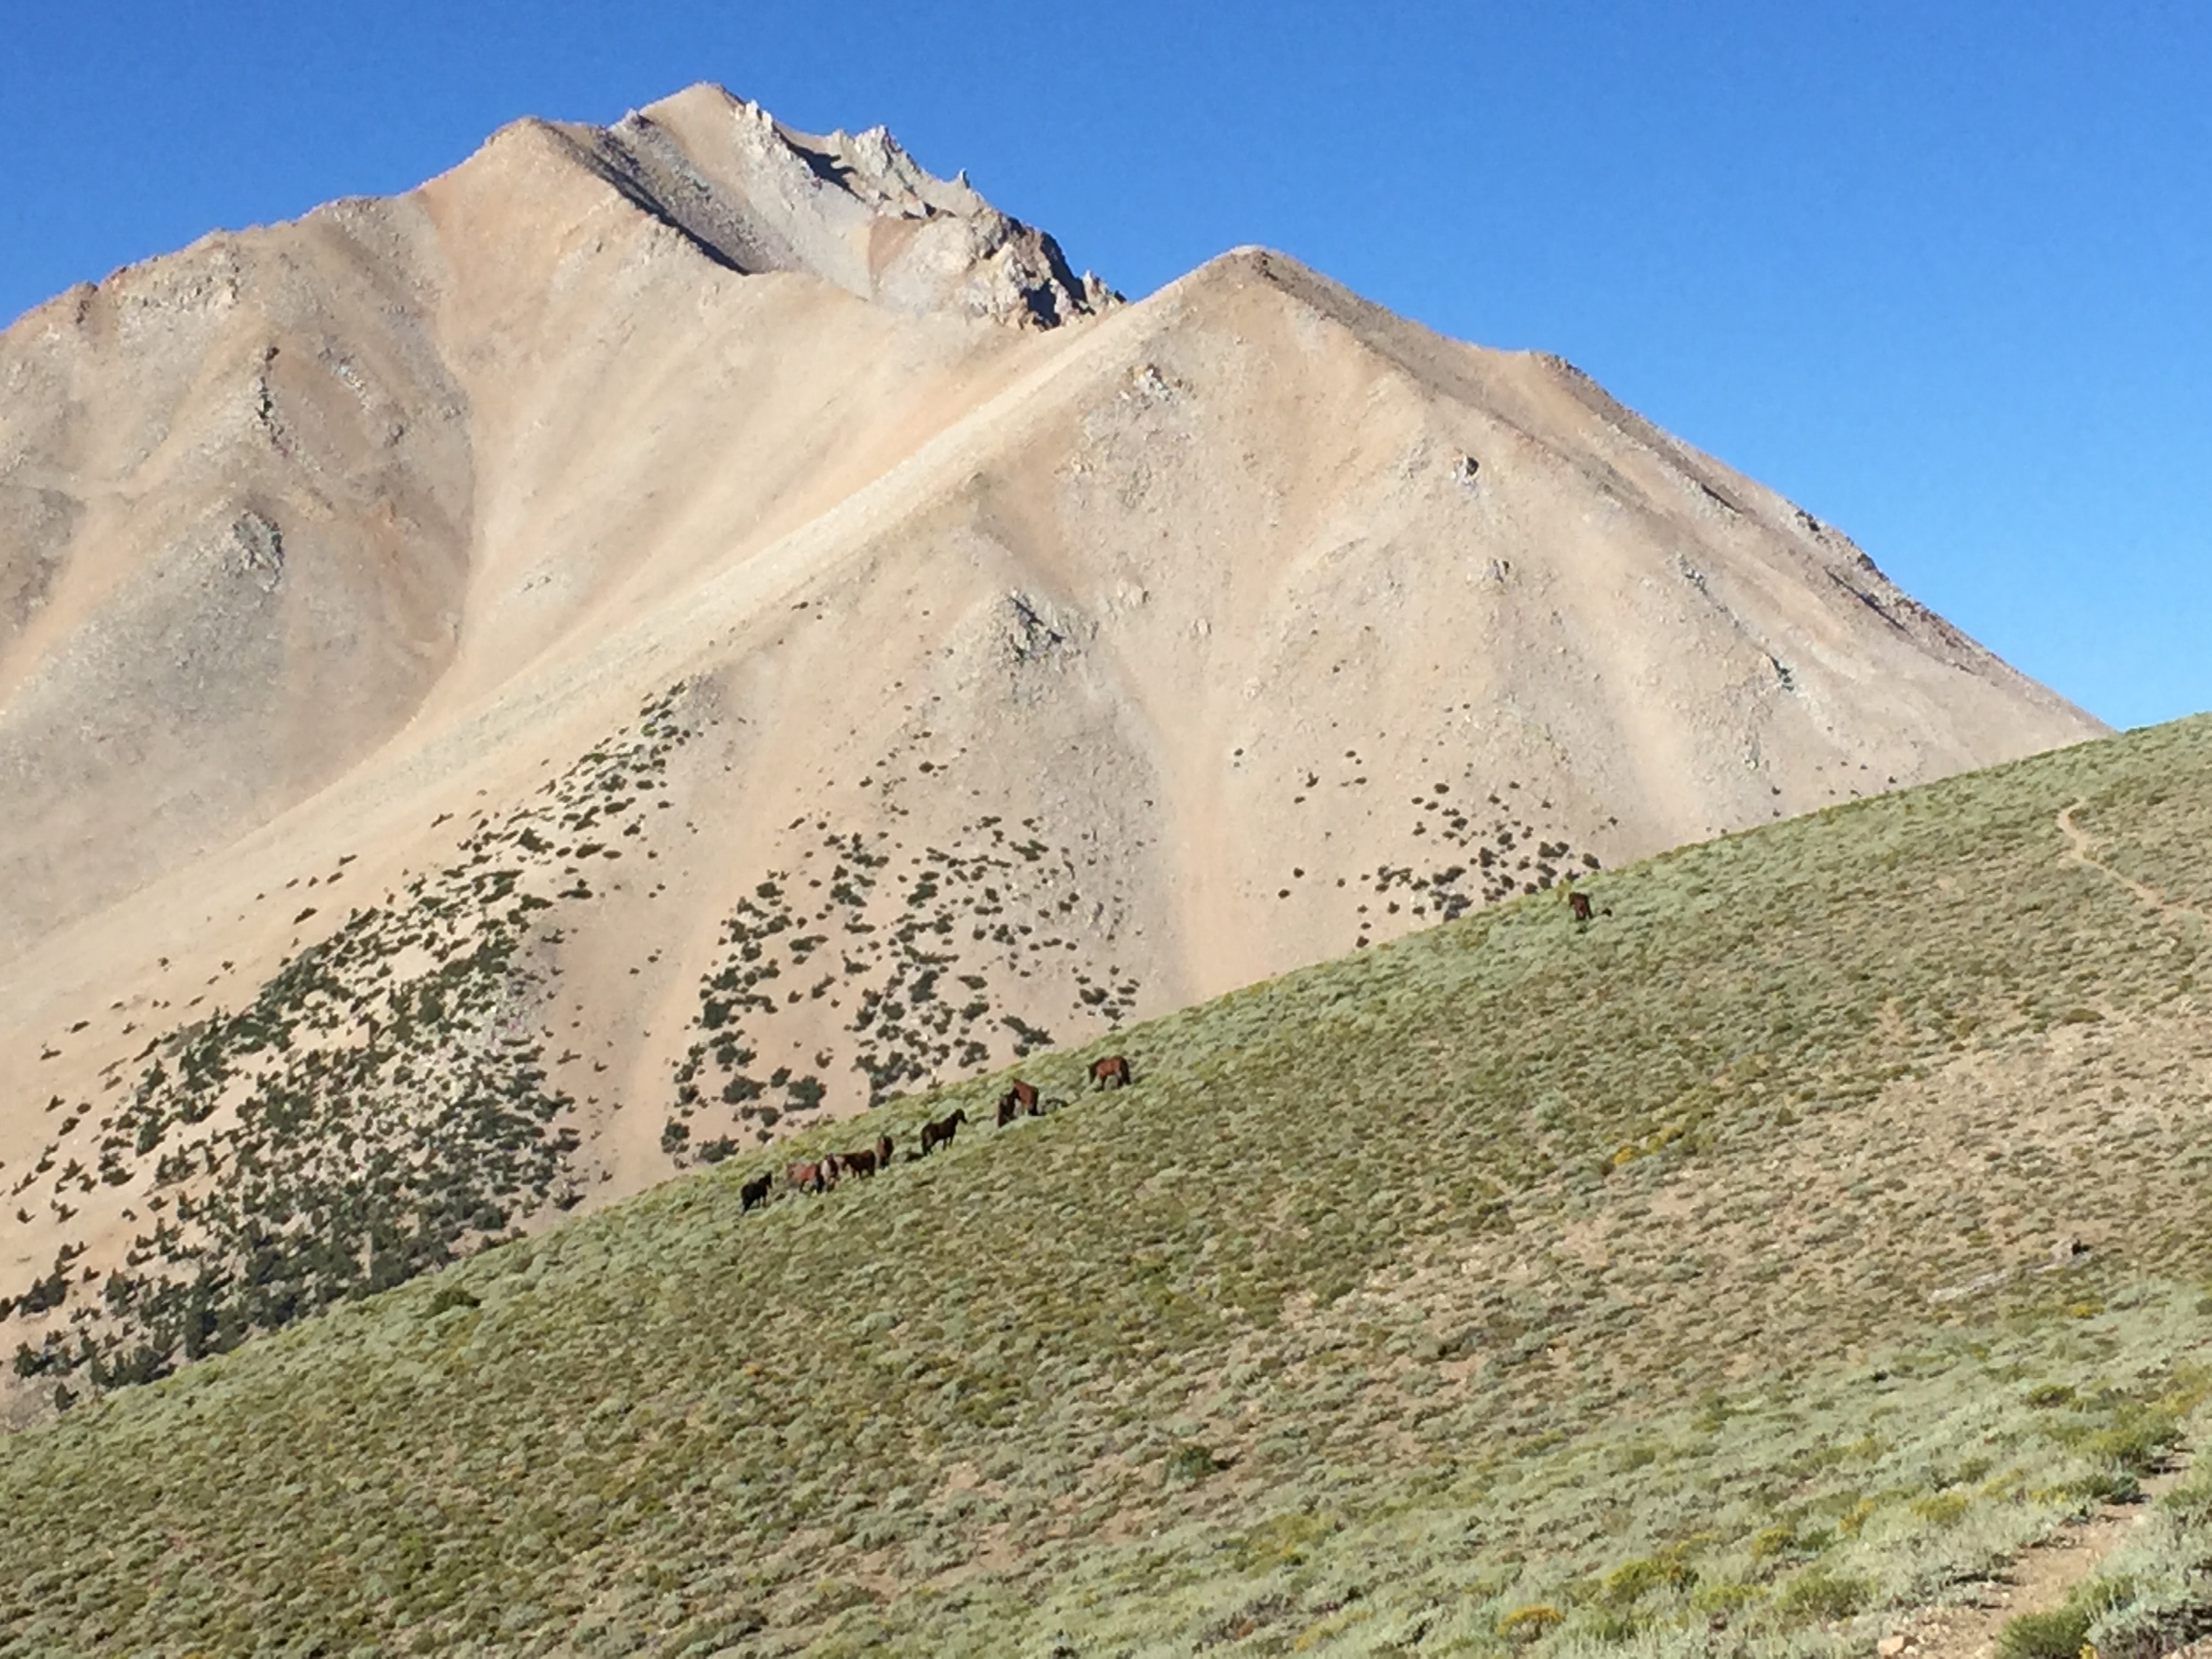
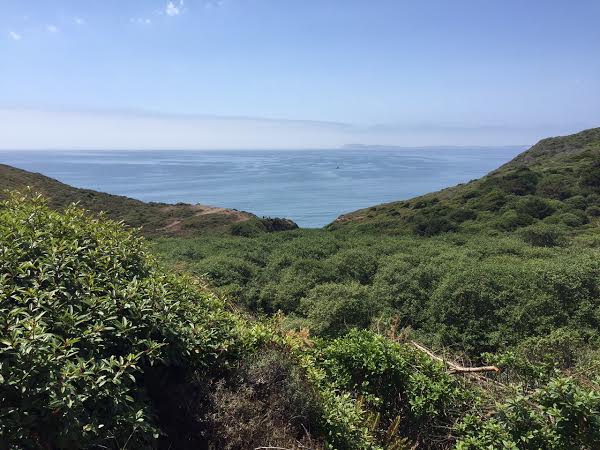
Our first view of White Mountain Peak in the distance.
Nina and I had just climbed Boundary Peak (13,140′) the day before we took off to White Mountain, so we were feeling strong and acclimatized. The “trailhead” begins at the Barcroft gate, about 1.6 miles below the facility (despite the sign reading 2 miles), at 11,670′. This means you only have about 2,600′ total elevation gain to look forward to, though the rising and falling slopes leading to the base of the mountain add a few hundred feet to this total.

Barcroft gate; the official start of the White Mountain Peak climb.
Here’s a breakdown of our timing:
- 4:45am: Left Bishop, CA.
- 6:30am: Arrived at trailhead (1:45 travel time).
- 6:40am: Departed trailhead.
- 9:15am: Arrived at White Mountain Peak summit.
- 9:25am: Descended from summit.
- 11:15am: Arrived back at the car.


Barcroft Station – Check out that white sedan, if he can make it, I’d guess nearly any car could!

Like I’d mentioned above, hikers follow this gravel road for 7.5 miles all the way up to the summit. The elevation gain trailhead to summit is around 2,500′, but because the trail slopes up and down throughout, our total elevation gain was about 3,500′. There is a more challenging route up the West Ridge described by Summitpost, but this entails gaining 9,000′ of elevation in just 10 miles. Nina and I had neither the time, nor desire, to take on that endeavor.
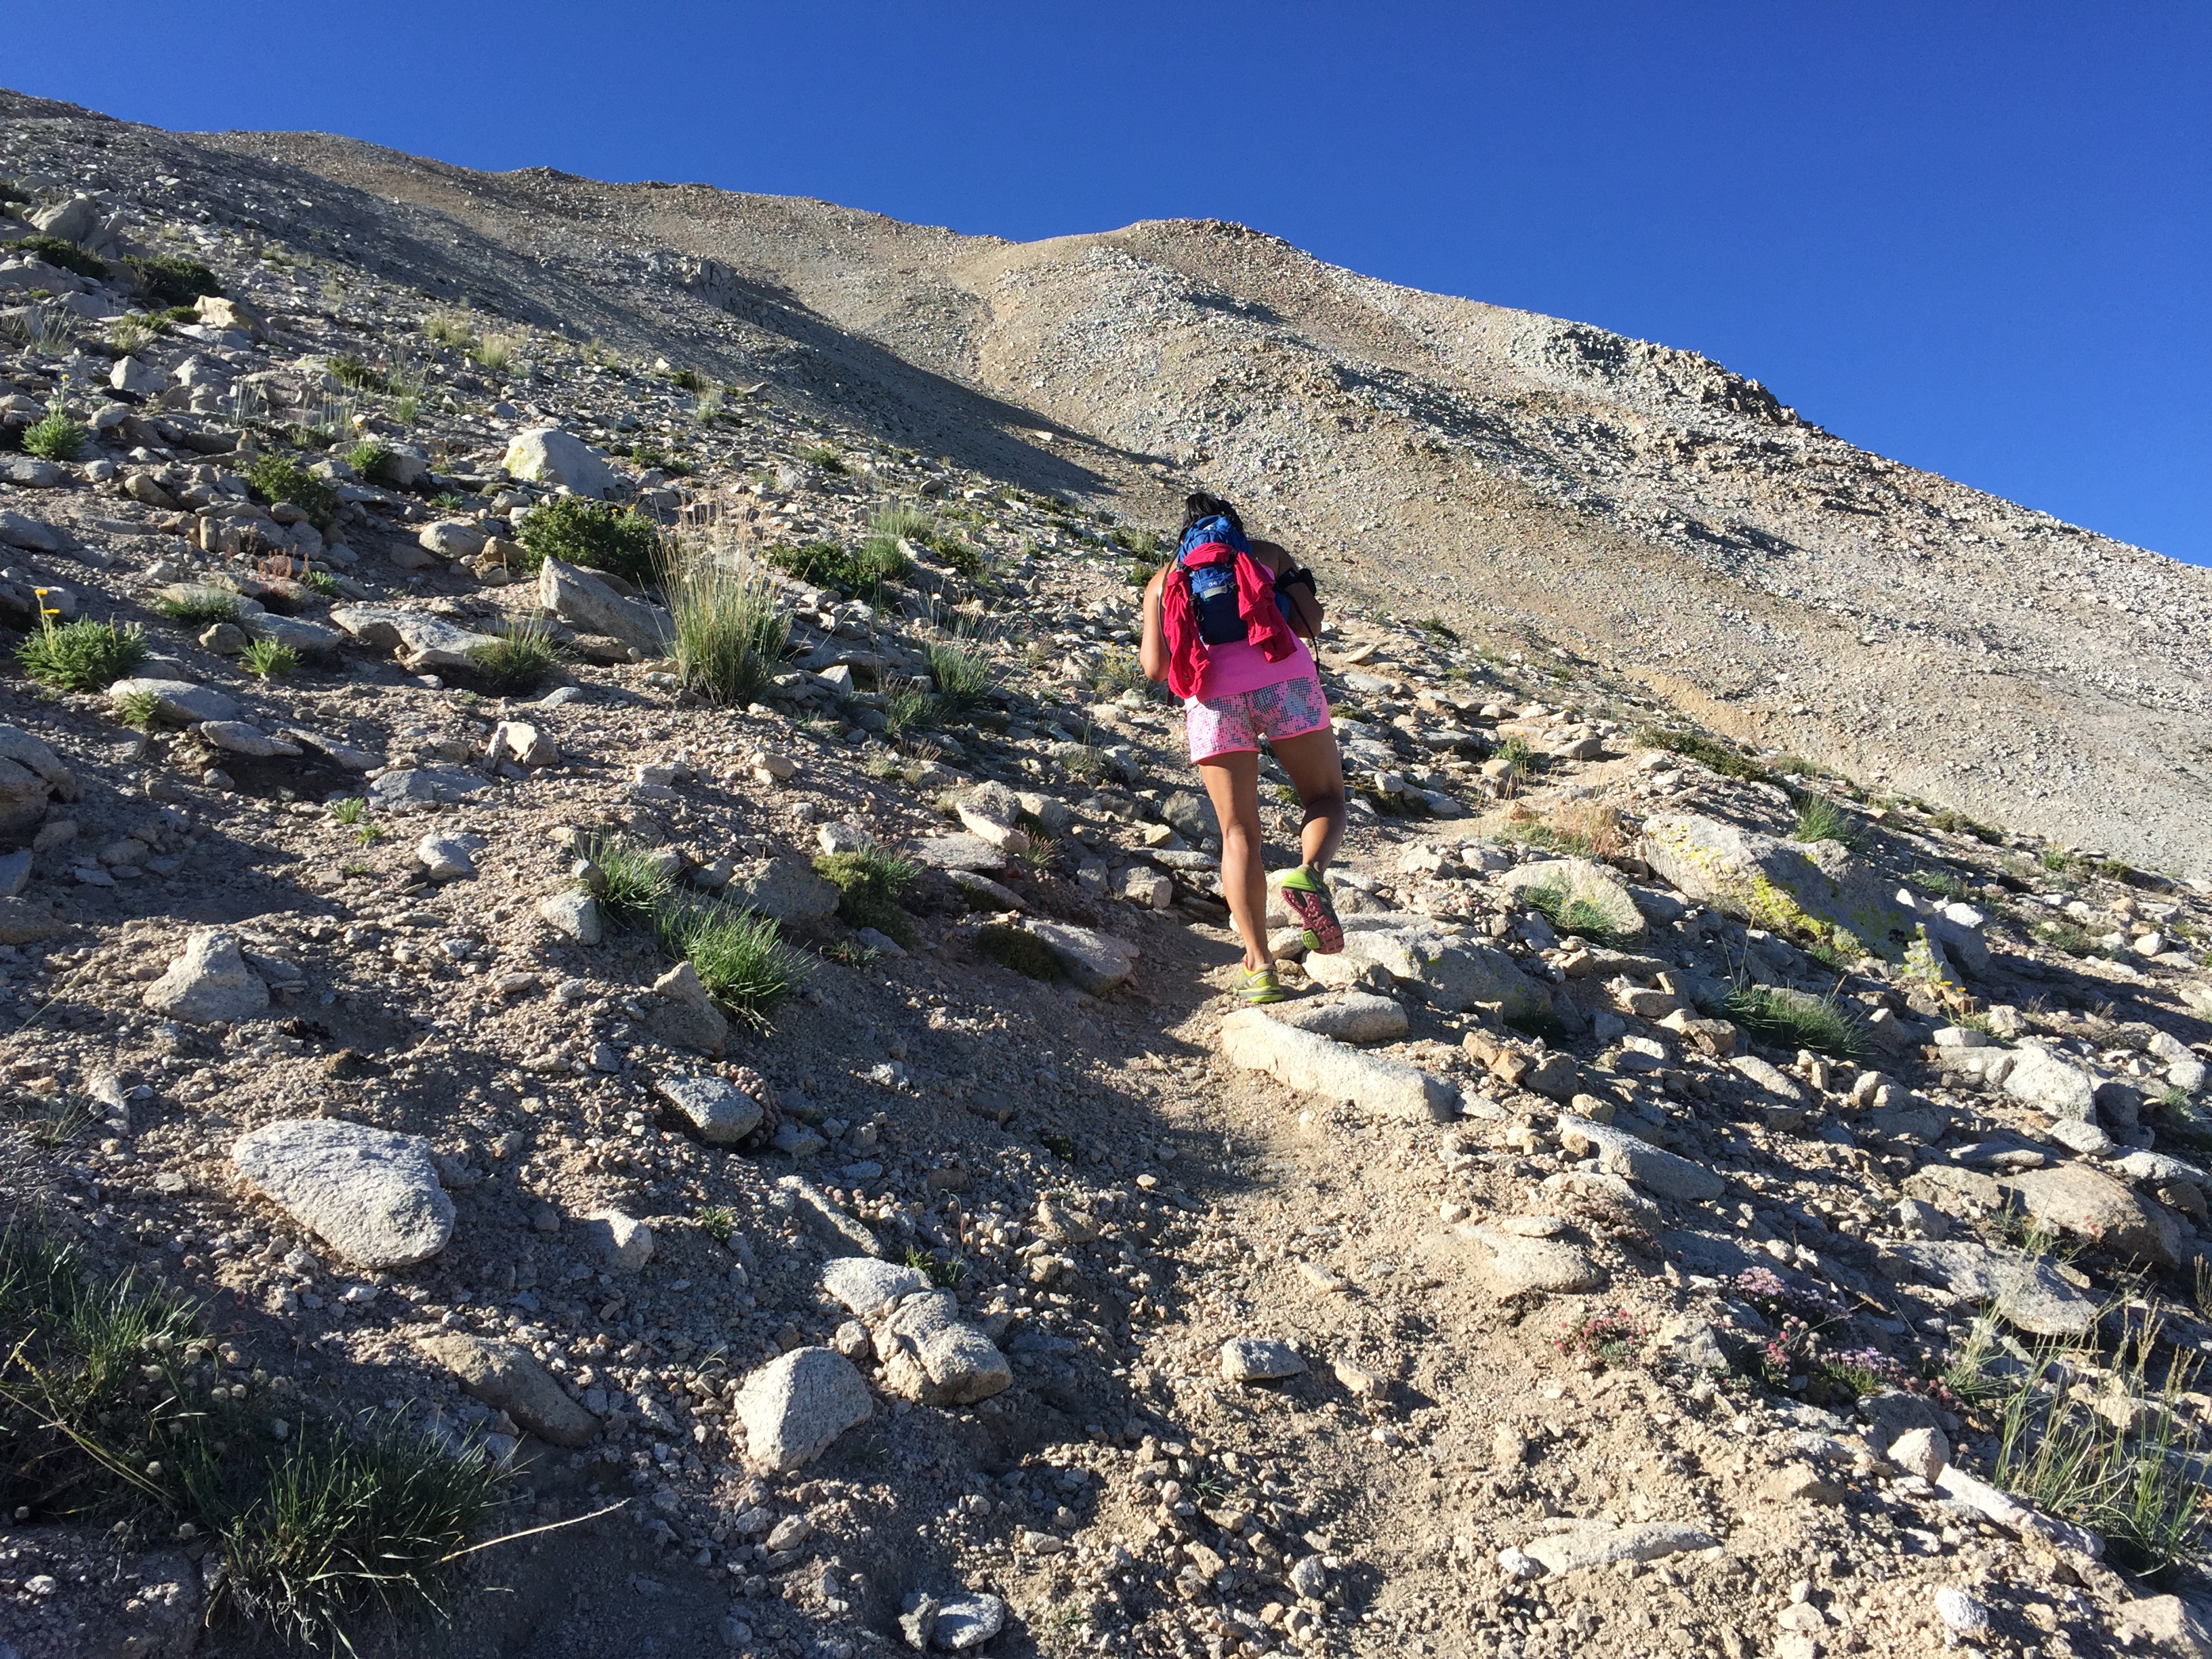
Nina making her way up the last couple hundred feet to the summit.

We made a few extra shortcuts on the last few hundred feet to the summit. While the gravel road continues to wind in steep traverses, there are some crude hiker trails that are easy to follow, and large enough rocks for scrambling.

The White Mountain Peak summit cabin.
Before we knew it, we were on top! Most notably, we were impressed that it wasn’t as cold on the summit as we expected. Everyone we’d passed throughout the day (3 different groups) were bundled up in pants and jackets, while we skipped along in hot pink shorts and tank tops. We were lucky enough to have a thin cloud coverage all day, so we were shaded from the 100 degree heat infecting the valley.

Nina and I on the summit of White Mountain Peak.

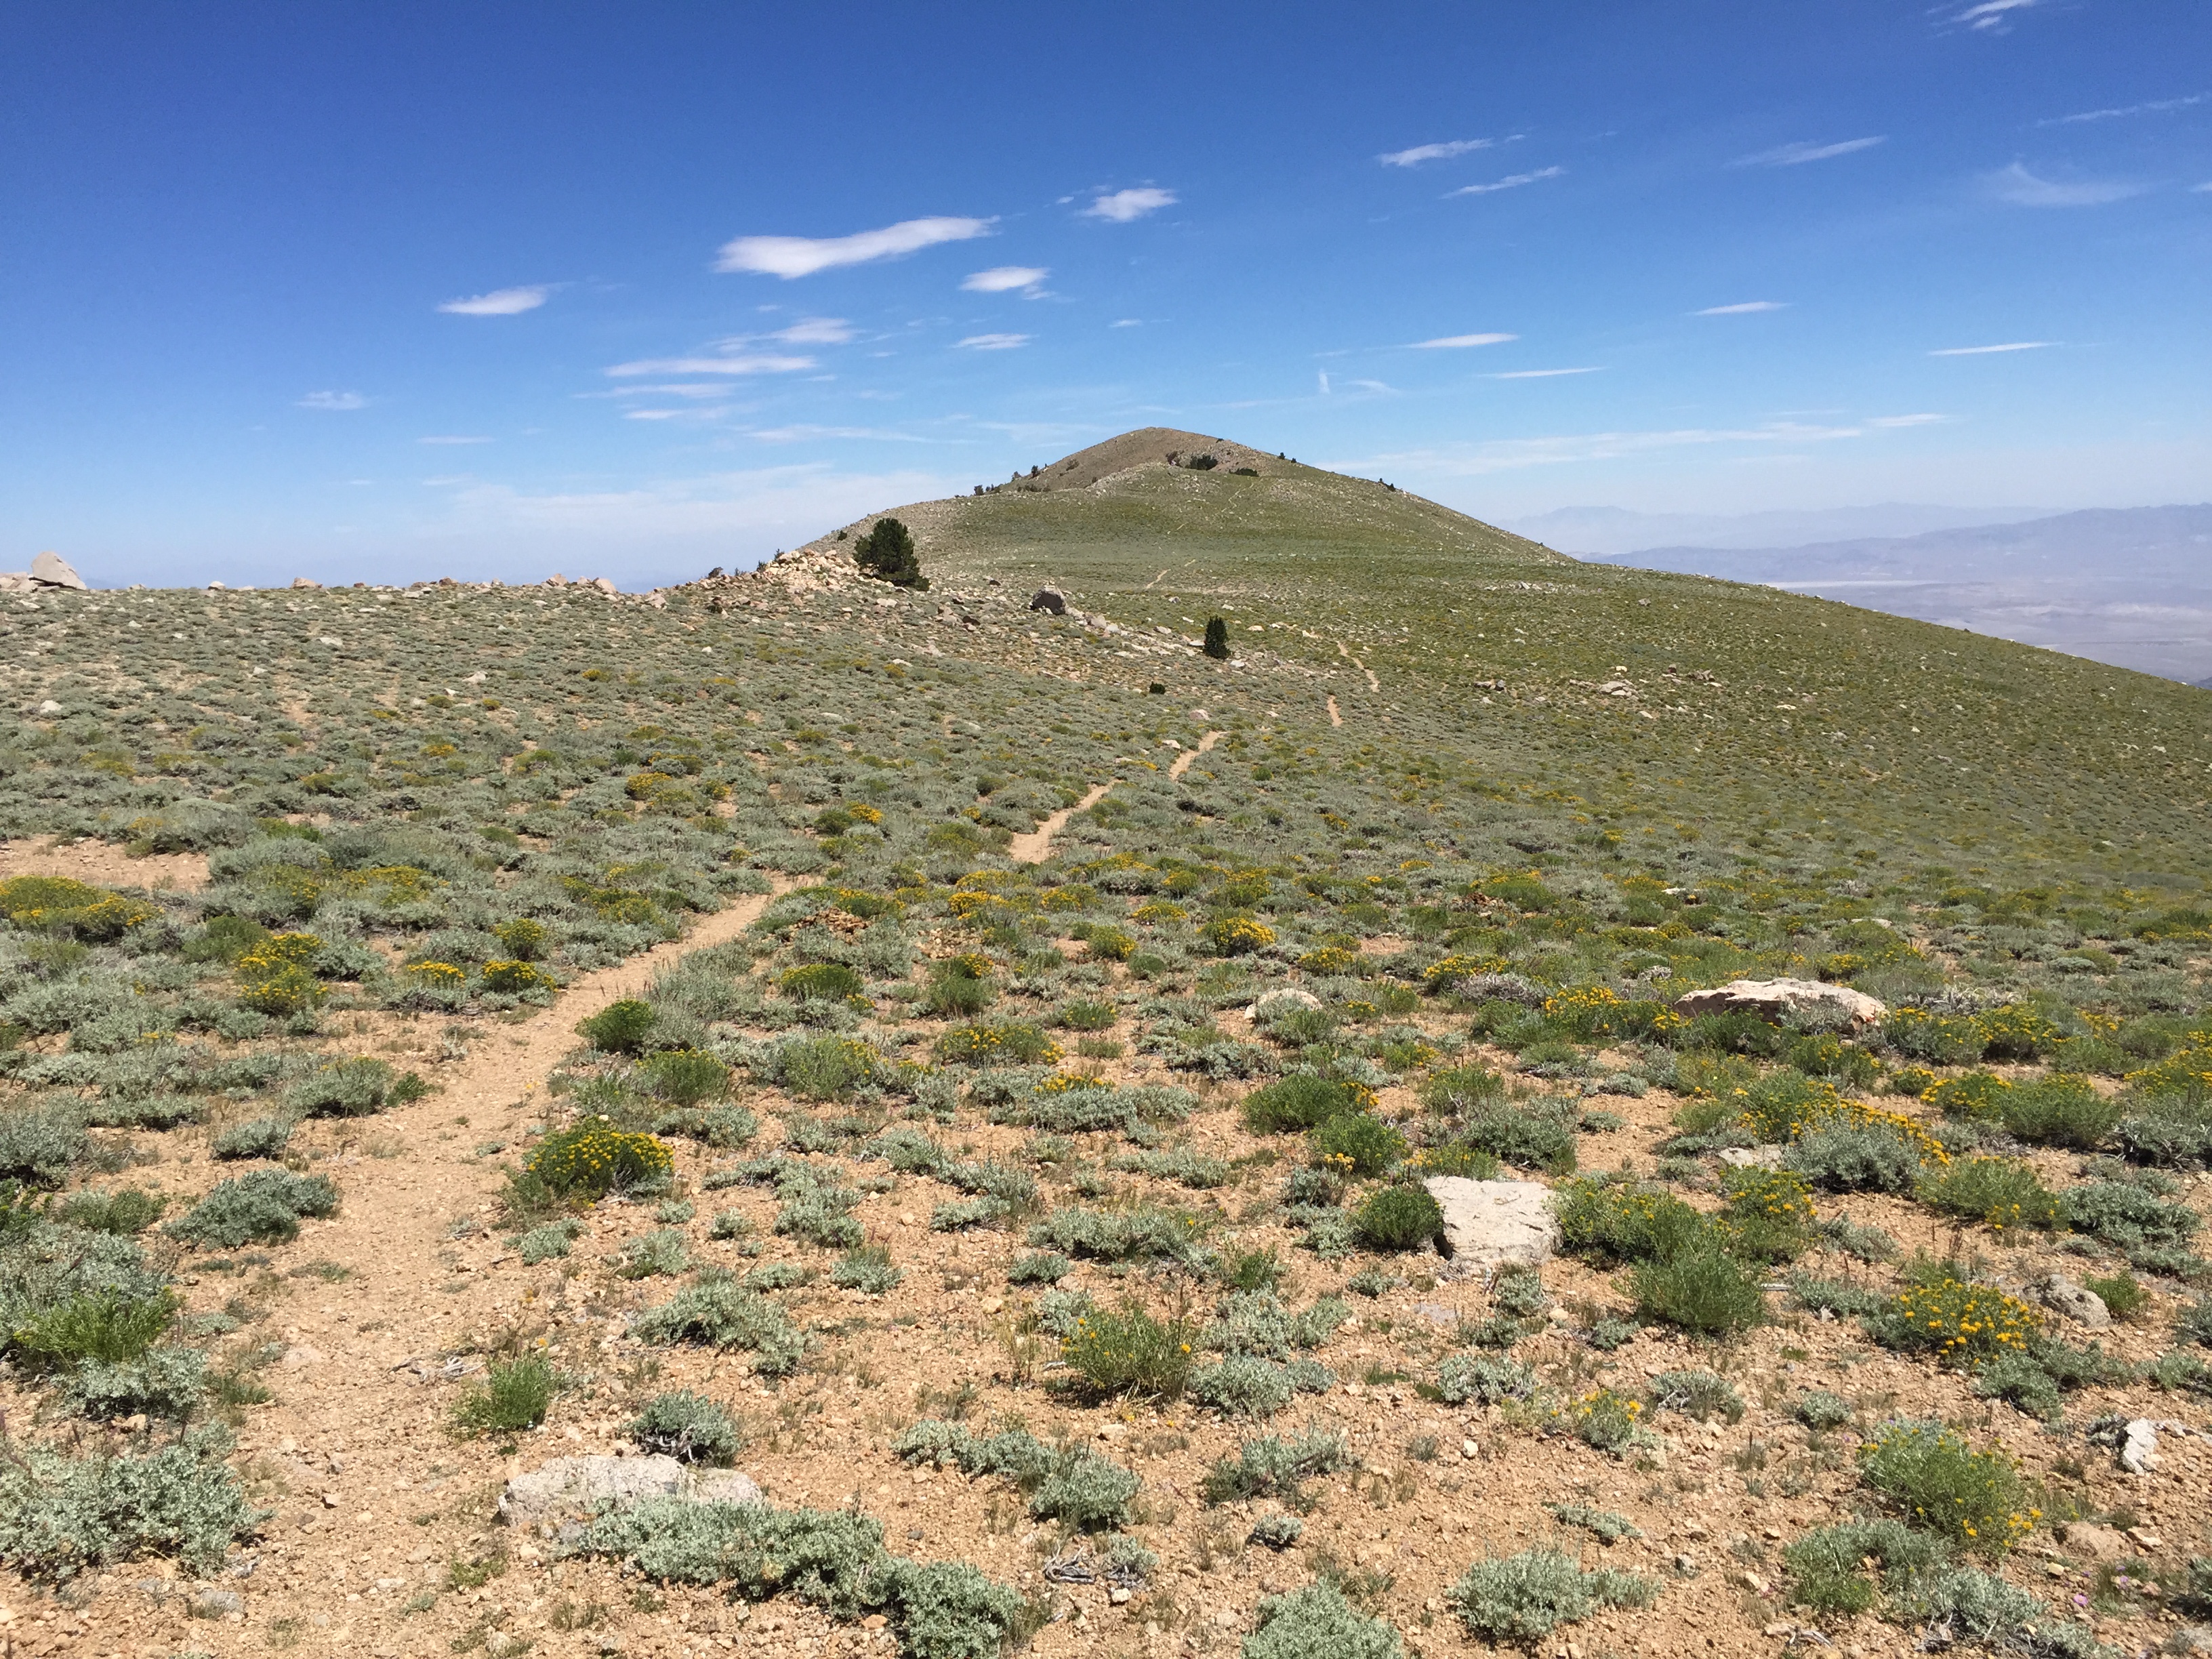
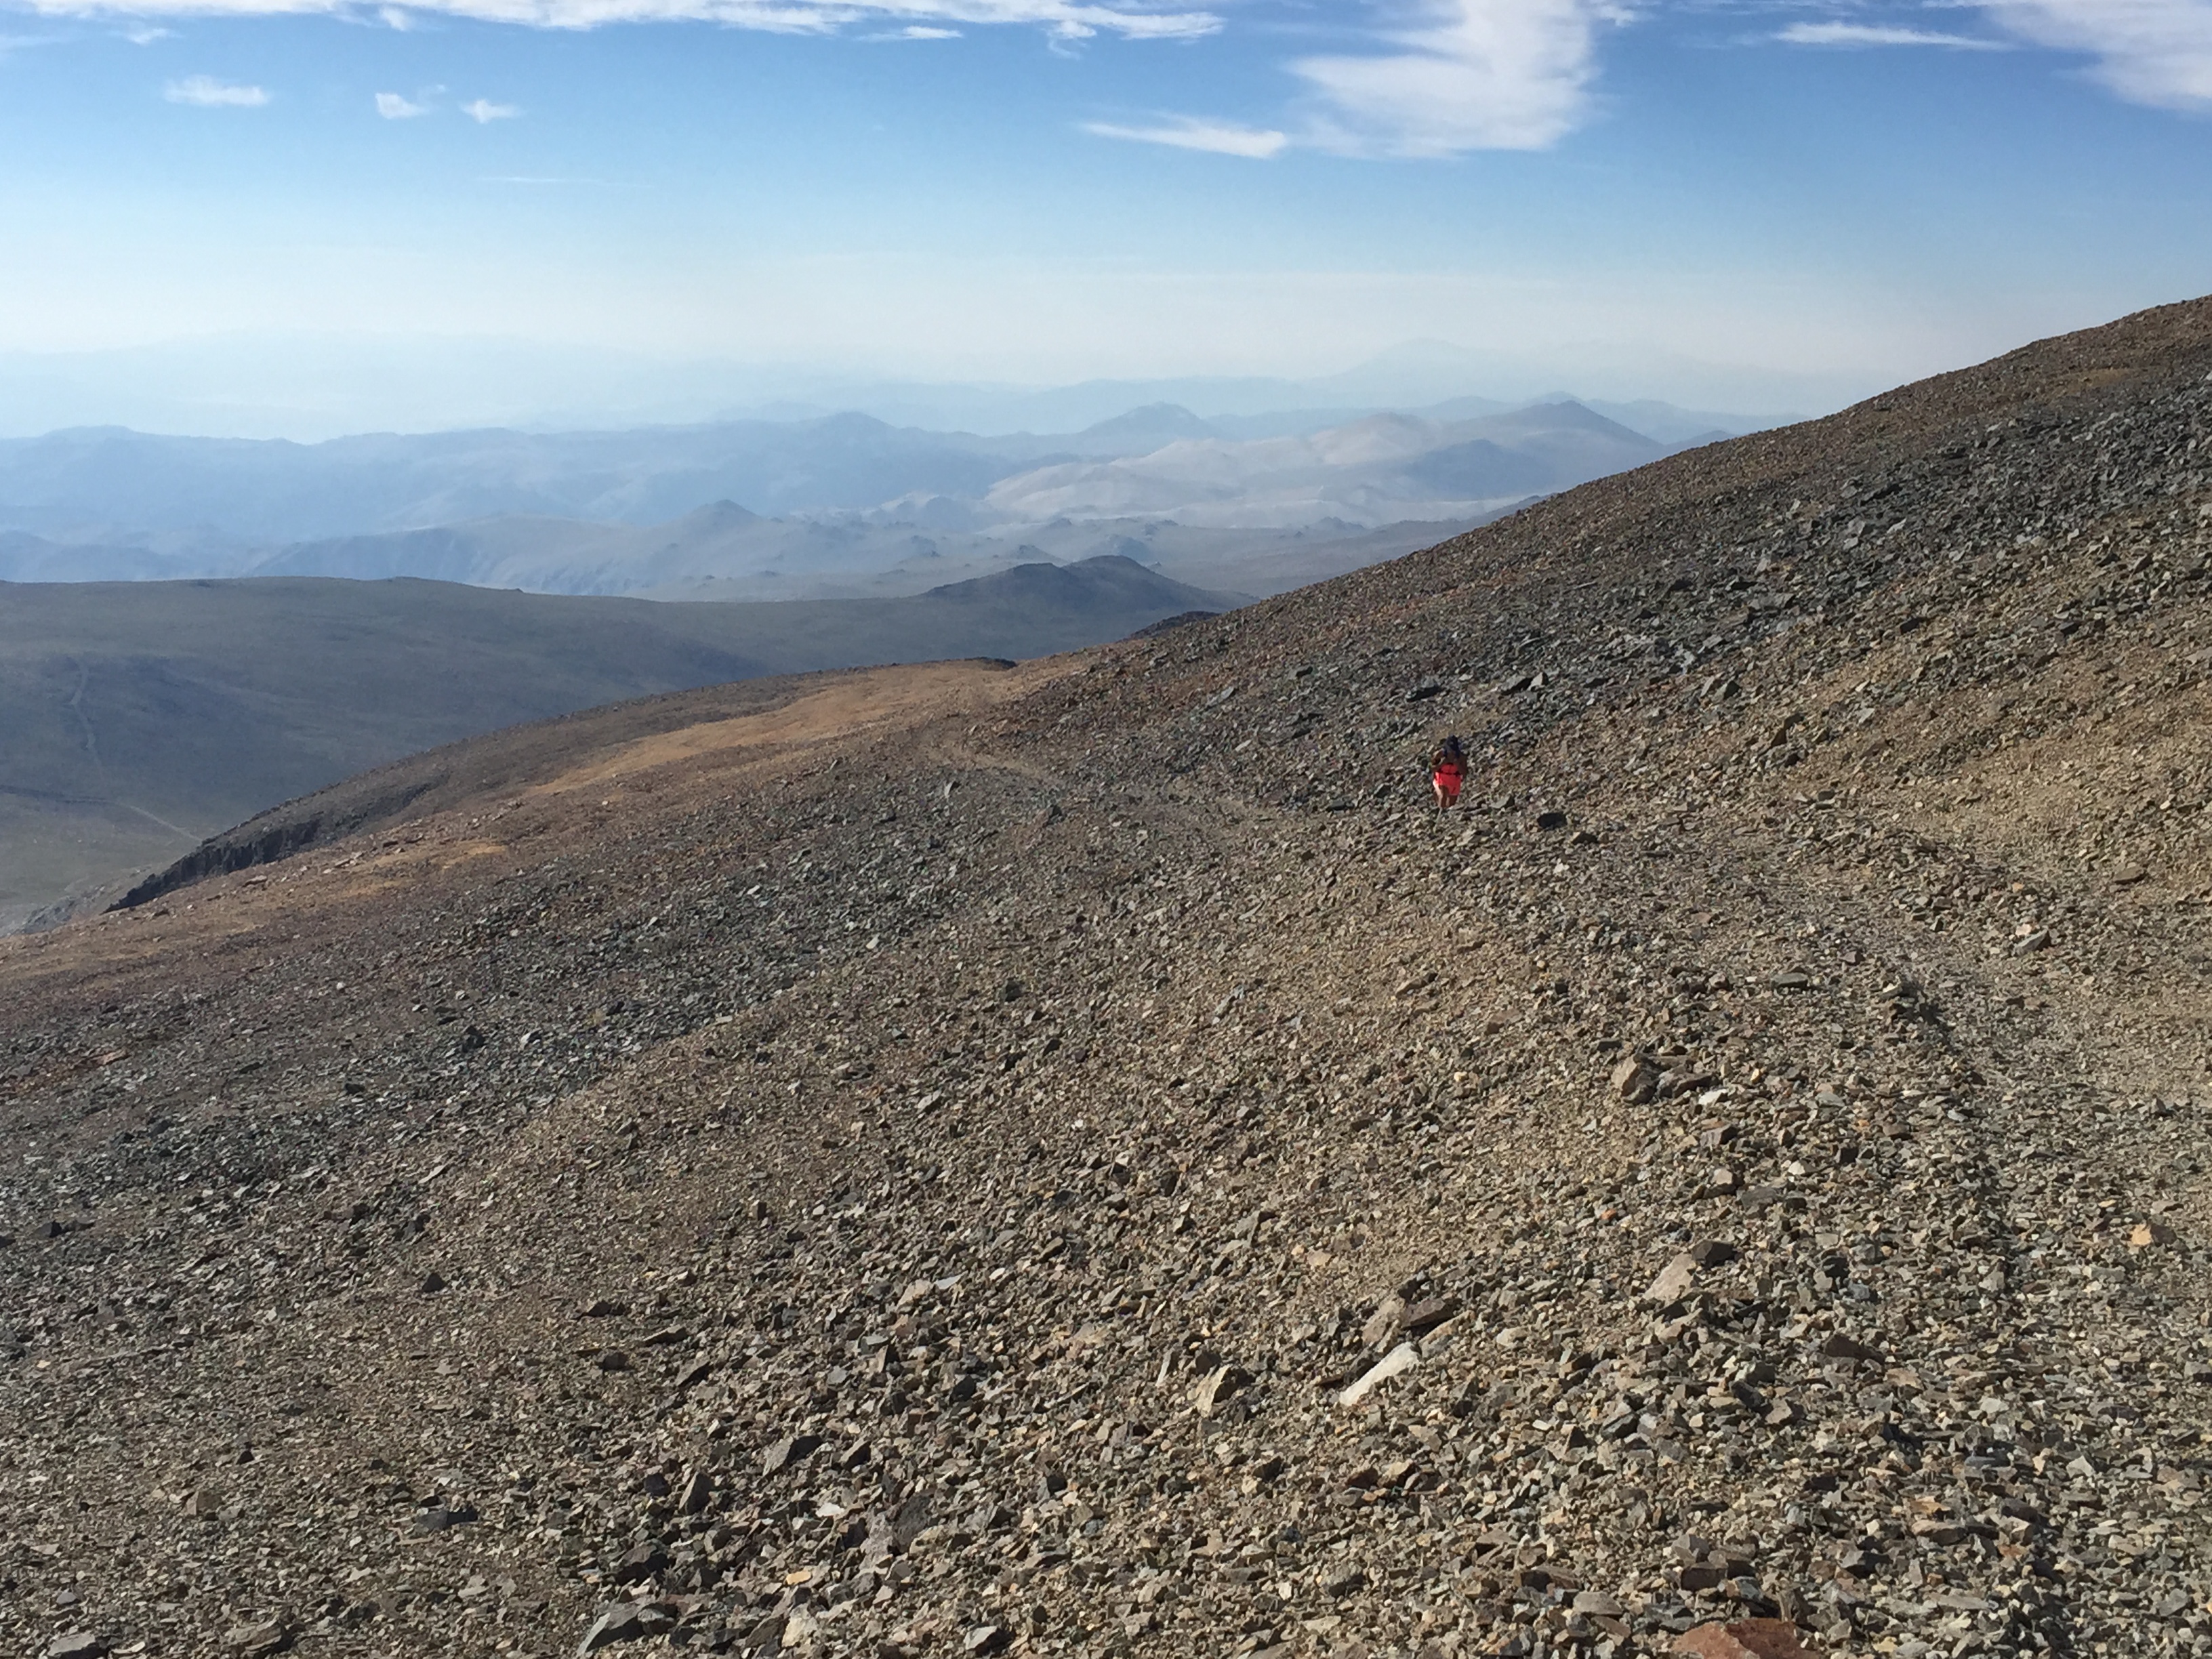
“Descending” the long approach that leads to White Mountain.

We were up there!
Like many descents, this one flew by, and before we knew it we were back at the Barcroft station mid-morning. Because Nina’s a badass climbing machine, she suggested we trail run the last few miles that gradually descended back to our car, which saved us some extra time. We said goodbye after a successful high-altitude weekend and promised to reconnect over another 13er or 14er soon.
QUICK STATS
- Length: 15 miles
- Trailhead: 11,670′
- Summit: 14,246′
- Elevation gain: 2,576′ (3519′ total with up & down slopes according to Nina’s Runkeeper)
- Time: 5.5 hours
A few resources I found helpful before this climb…
- Summitpost route description and directions to Barcroft.
- Timberline Trails route description.
- Great trail description from Scaruffi.
- Route description from Natural Born Hiker.