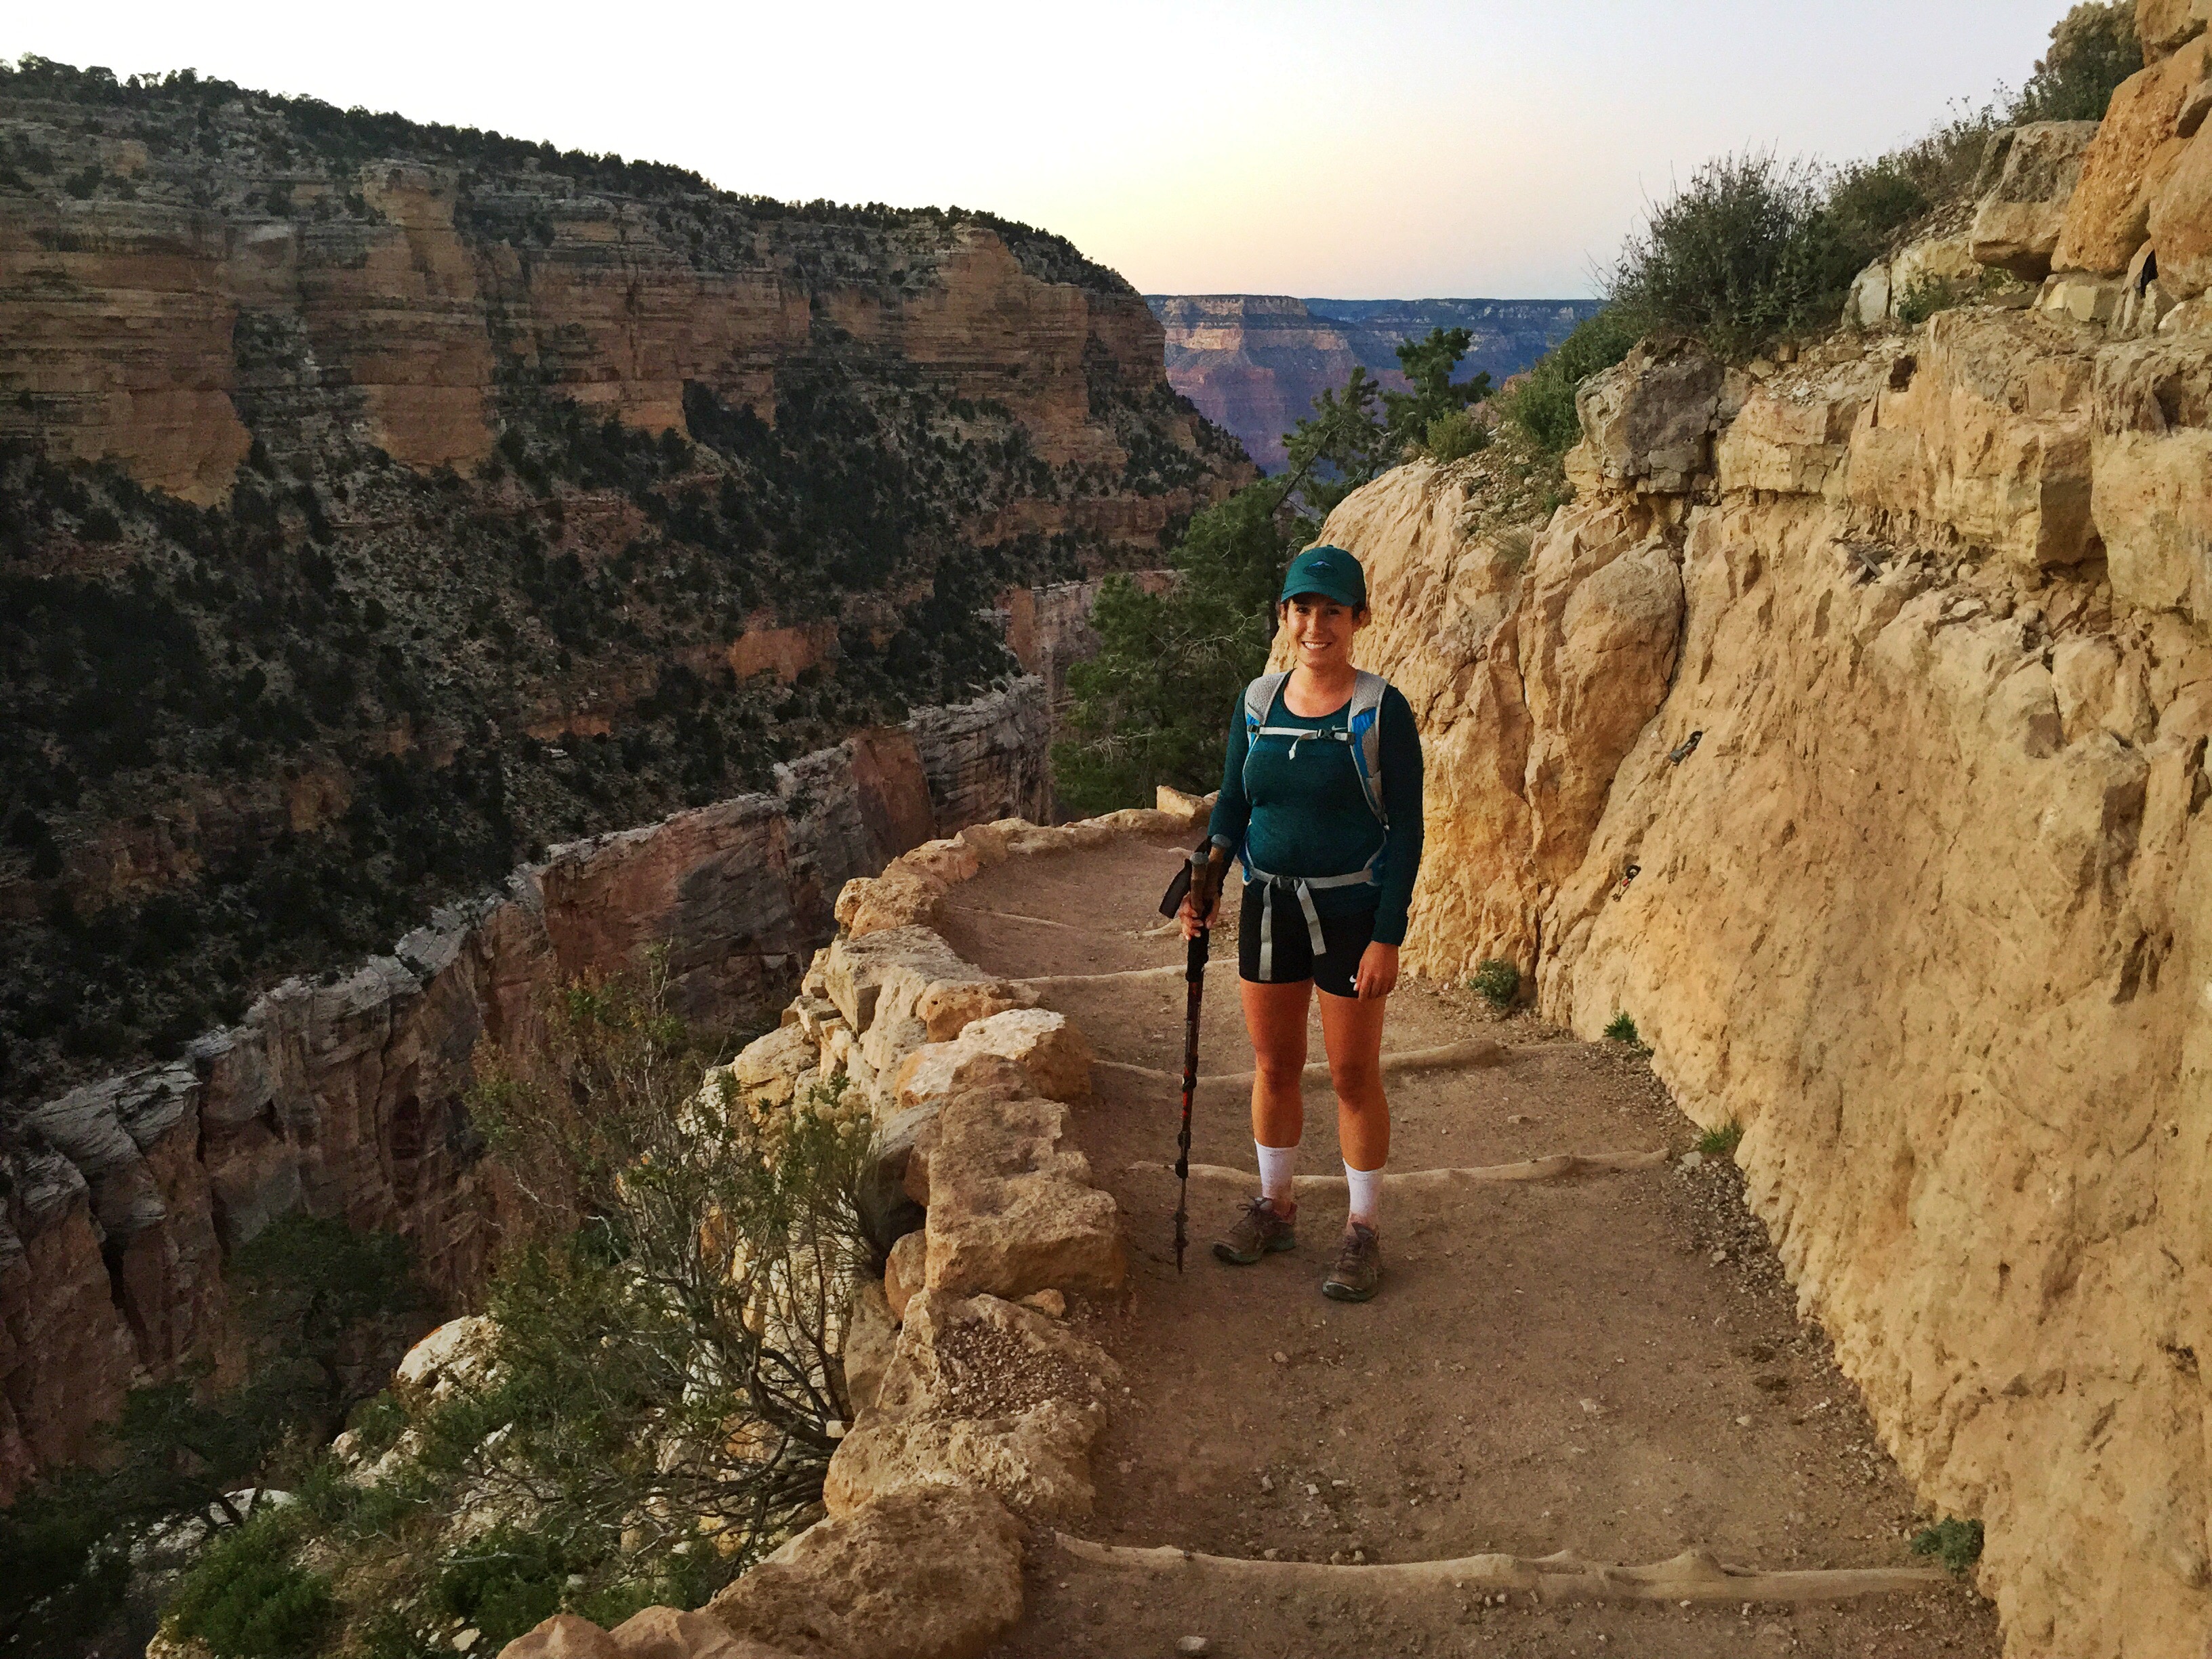
Known as the Rim 2 Rim 2 Rim, or the Rim3, crossing the Grand Canyon back and forth in the course of a day is an ultra-marathon feat attempted by hikers, runners, and athletes of all ages and activity level. My friend Nina had completed the entire run the last two years in a row and was back with a vendetta to beat her previous time of 15 hours. She talked me into joining her, and after reluctantly buying a plane ticket, and then ambitiously taking on this double-marathon day, I owe her an entire world of thanks for pushing and inspiring me beyond my limits.

The general rule of thumb: Run downhill, walk when necessary, and hike uphill. I followed this rule pretty steadily, running or jogging where I could, and walking when I felt like it. I’m surprising myself as I type this, but I truly found this endeavor to be much more reasonable than I’d thought it would be a week before. I stressed myself out and built up this number in my head – 46 miles – asking myself over and over what was I thinking.
The truth is, the Grand Canyon is essentially an inverted mountain. So by comparing it to what I was familiar with (mountain climbing), moving at a pace I knew I could maintain, and keeping a large reserve of strength and energy for the final push back up the South Rim, I found the feat totally manageable. With the right gear, physical training, and nutrition preparation, it was a cinch. And honestly, more than half of it was mental: overcoming my own self-doubt.

We started the day with a 2:00am alarm, wolfing down pop-tarts and coffee until our taxi arrived. It was a short ride to the South Kaibab Trail, which is the shorter and steeper route down the South Rim. We would return up the Bright Angel Trail, a longer and more gradual ascent up the South Rim that would land us right near the doorstep of our hotel.
We started running at 2:50am. We wouldn’t see sunlight for nearly four hours.

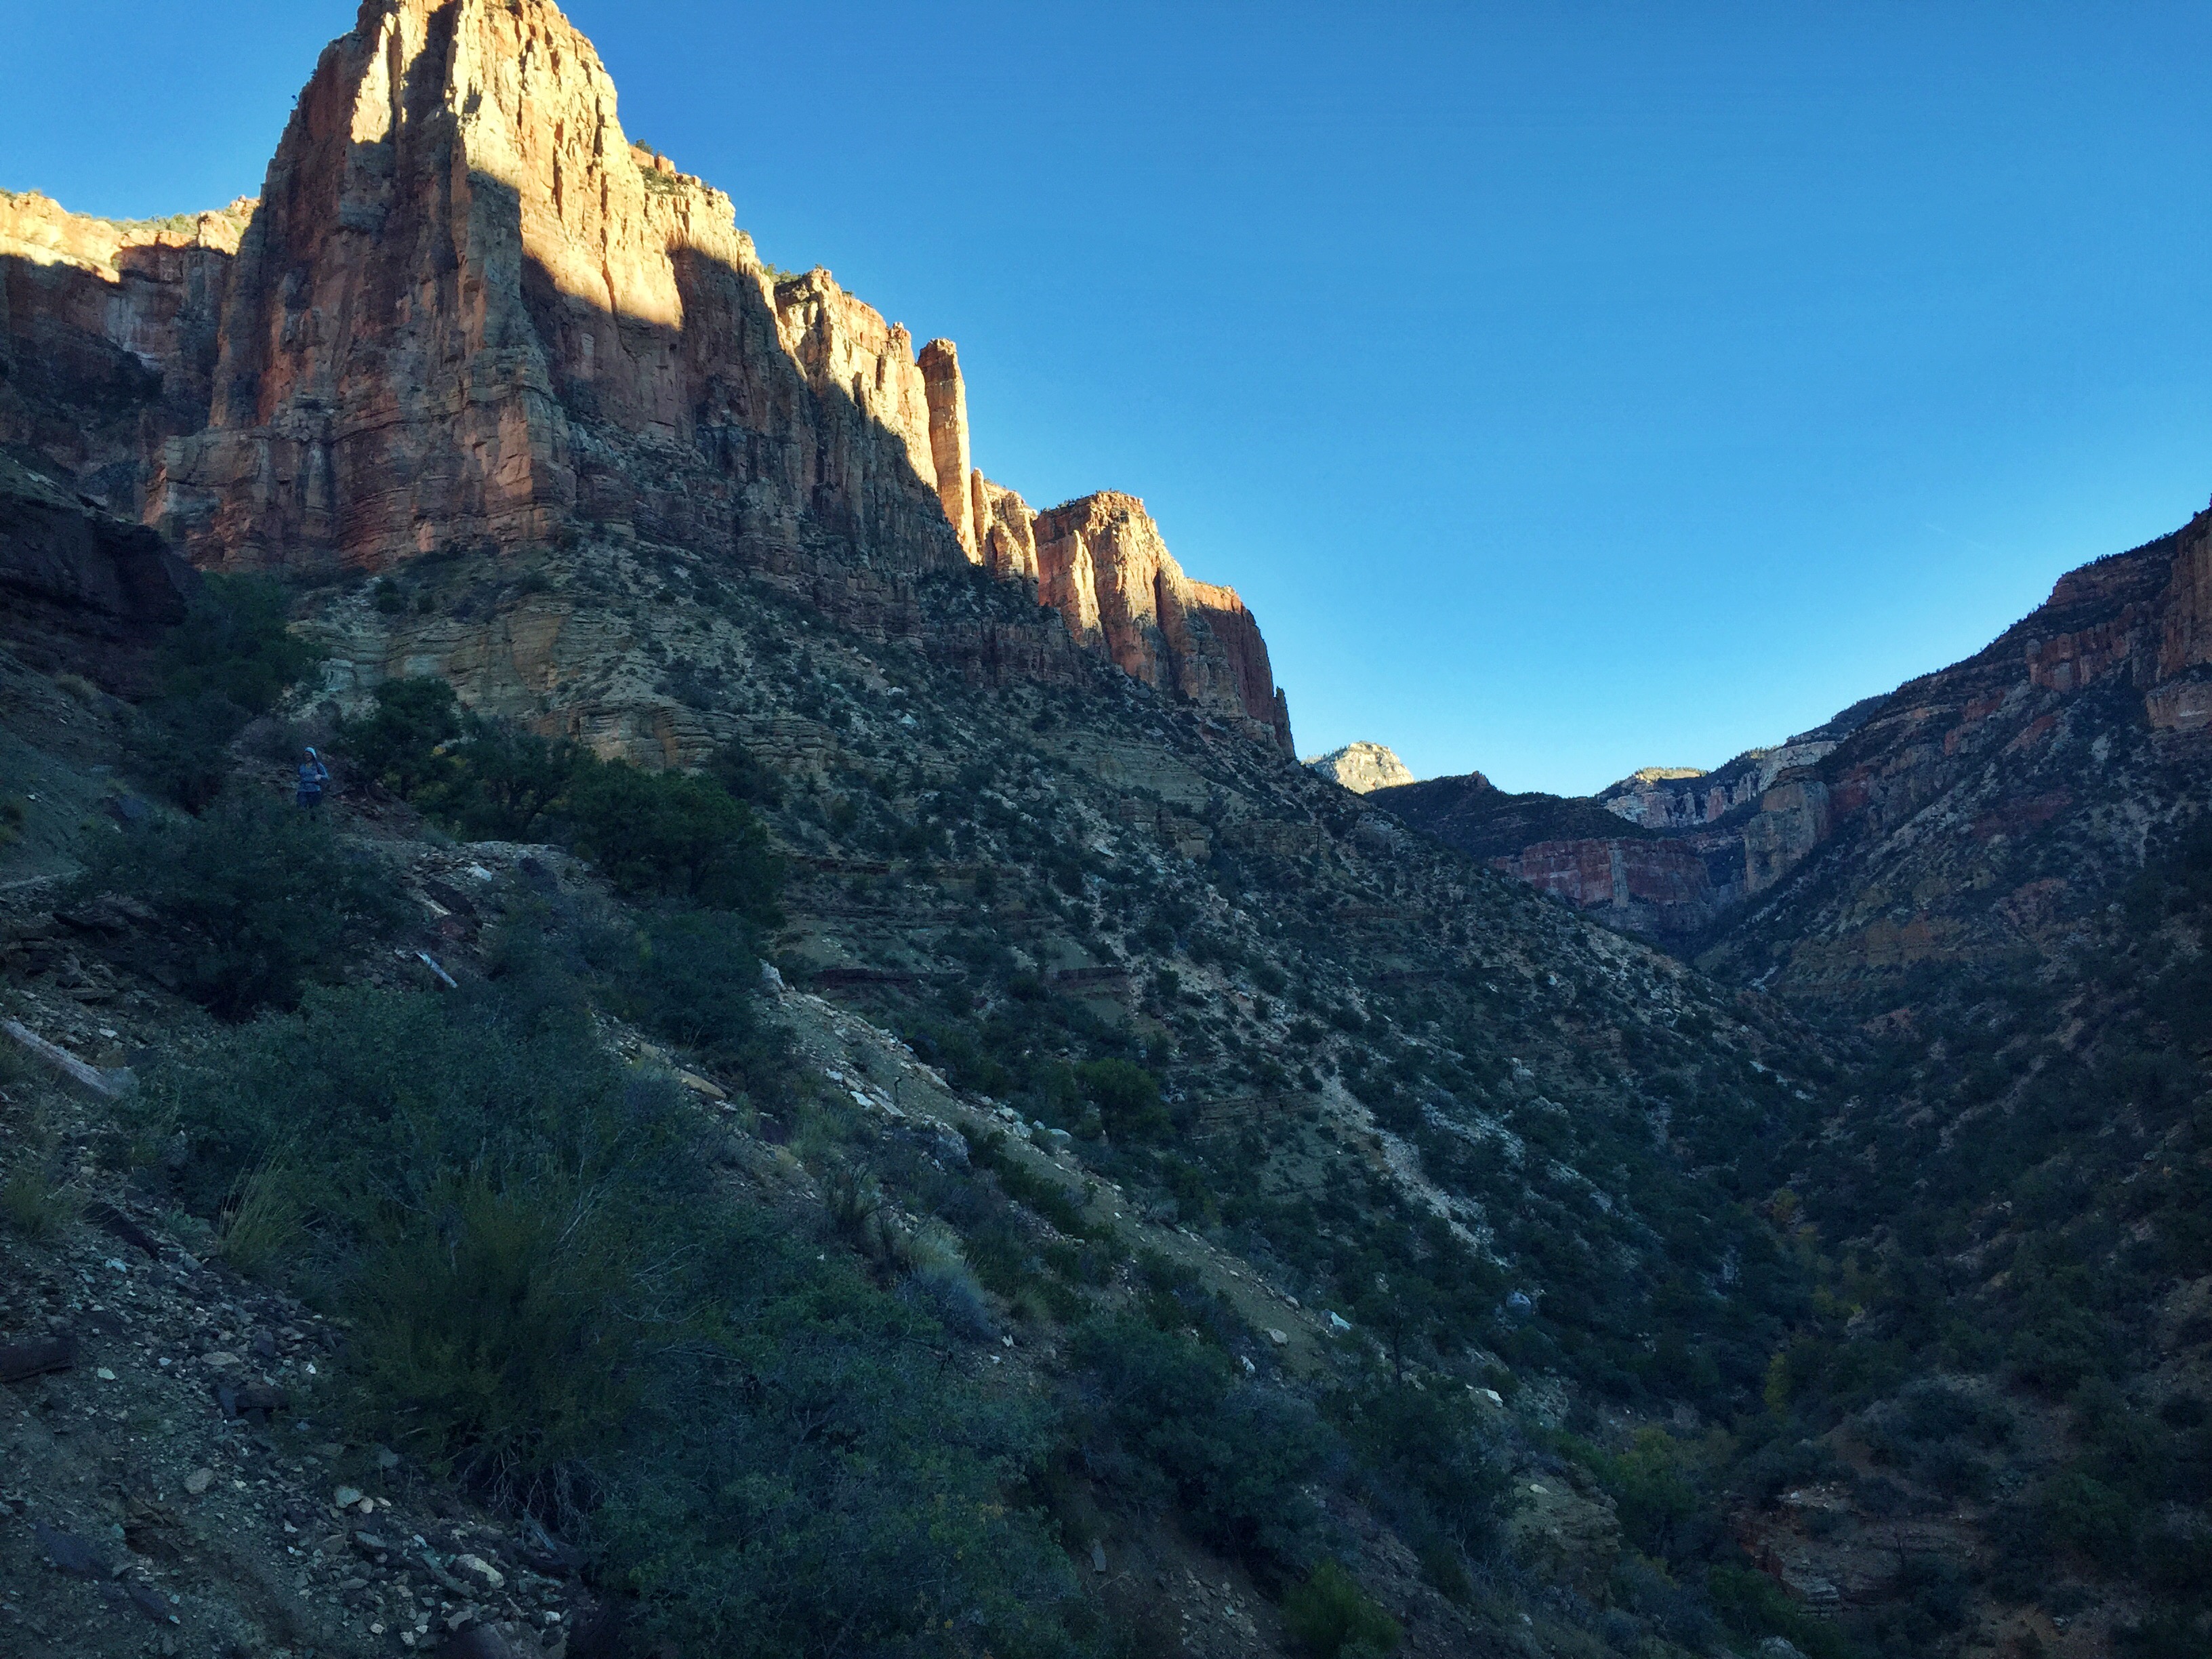
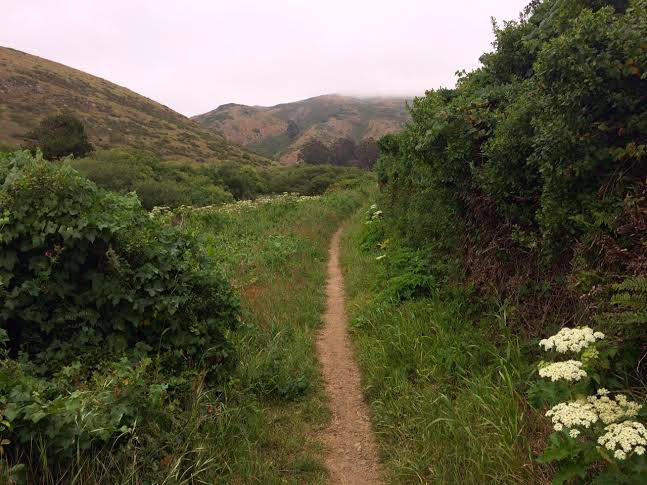
The first rays of sunlight creeping into the canyon, looking back at the South Rim, around mile 10.
Our headlamps worked well, we kept a good enough pace as to not lose our footing, and we moved downhill at a quick clip. It took us a little under two hours to reach the valley floor, 7.5 miles blown by like that.
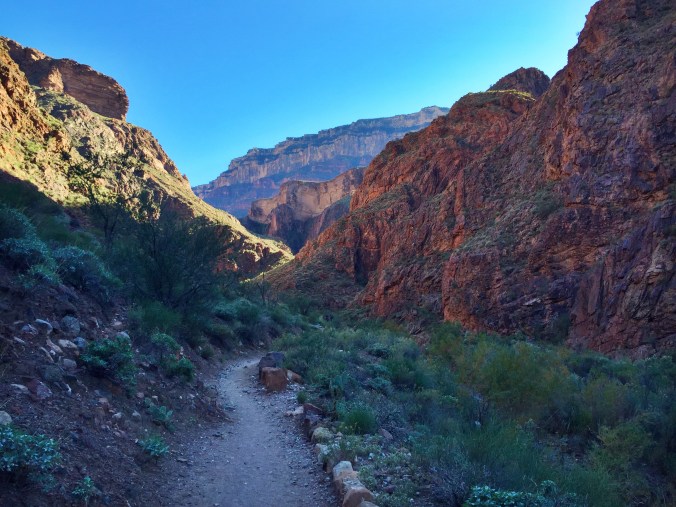
We were walking in the pitch dark for what turned out to be one of the most beautiful parts of the trail, where it winds along the Colorado River with two-thousand foot canyon walls bordering your either side. This flat portion of trail, with an ever-gradual incline, continued from Phantom Ranch for 7.3 miles to Cottonwood Campground, where we took our first break. Nina and I ate Clif bars and energy gels while watching campers waking up and filling up their water for the day. We were both carrying 2 liters that morning, so we made mental notes to stop by here on our way back through.

Sunlight slowly creeping into the canyon, around mile 11.
A steady incline takes hikers from Cottonwood to the 8,000 ft. North Rim over 6.3 miles, passing by a few other campgrounds and stopping points (which we did not use to their name). Finally, the entire canyon was lit up with the morning and we could clearly see the towering red walls around us.
When we departed Cottonwood Campground I removed the trekking poles I’d had strapped to my backpack, de-collapsed them, and used them for the rest of the climb. Many R3’ers choose not to bring poles, but that day I saw around half of the runners we ran into on the trail using them – and I found that they psychologically saved me on the final ascent up the South Rim.

Ascending the canyon walls to the North Rim, around mile 17.

Mile 19 or so, approaching our 22 mile turnaround point.
We reached the North Rim at around 9:50am, where we were greeted by an ultra-runner friend, and where we promptly sat down and inhaled our lunches as quickly as we could. We weren’t sitting for more than 10 minutes before the chilly morning air and altitude began to set into our bones, so again we took off.

All smiles at the North Rim halfway point! Mile 22.
Not long after departing the thin air at the North Rim, Nina and I split up. She’s speedy as hell on these downhill sections, whereas I don’t trust my footing as much, am much more careful especially around steps. Plus, this was my first time seeing the Grand Canyon in all its glory, so our split gave me the chance to stop and take photos and enjoy the canyon at my leisure.

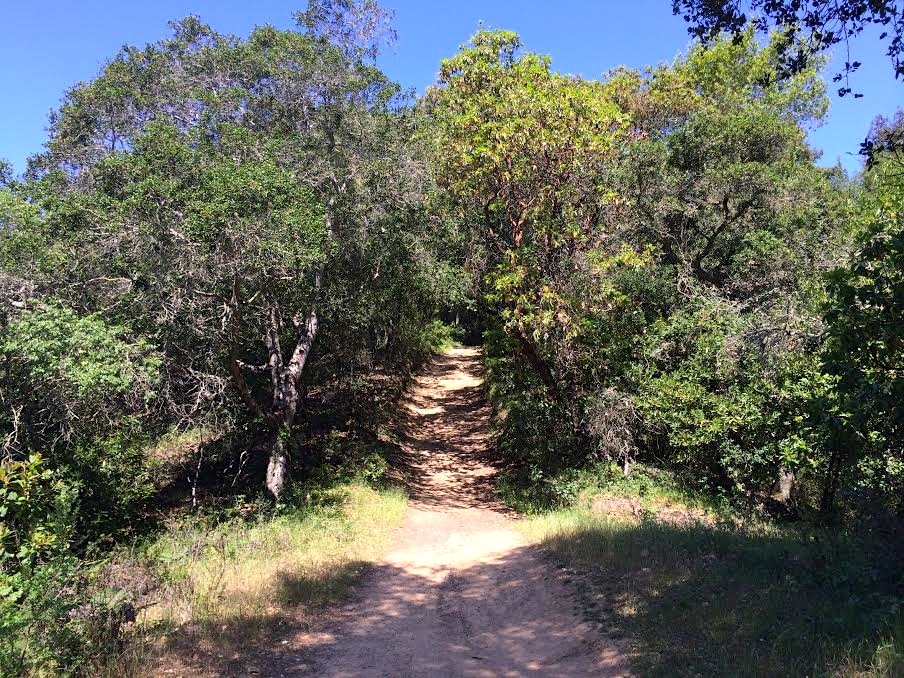
After having begun my descent back into the canyon – there’s no turning back now!

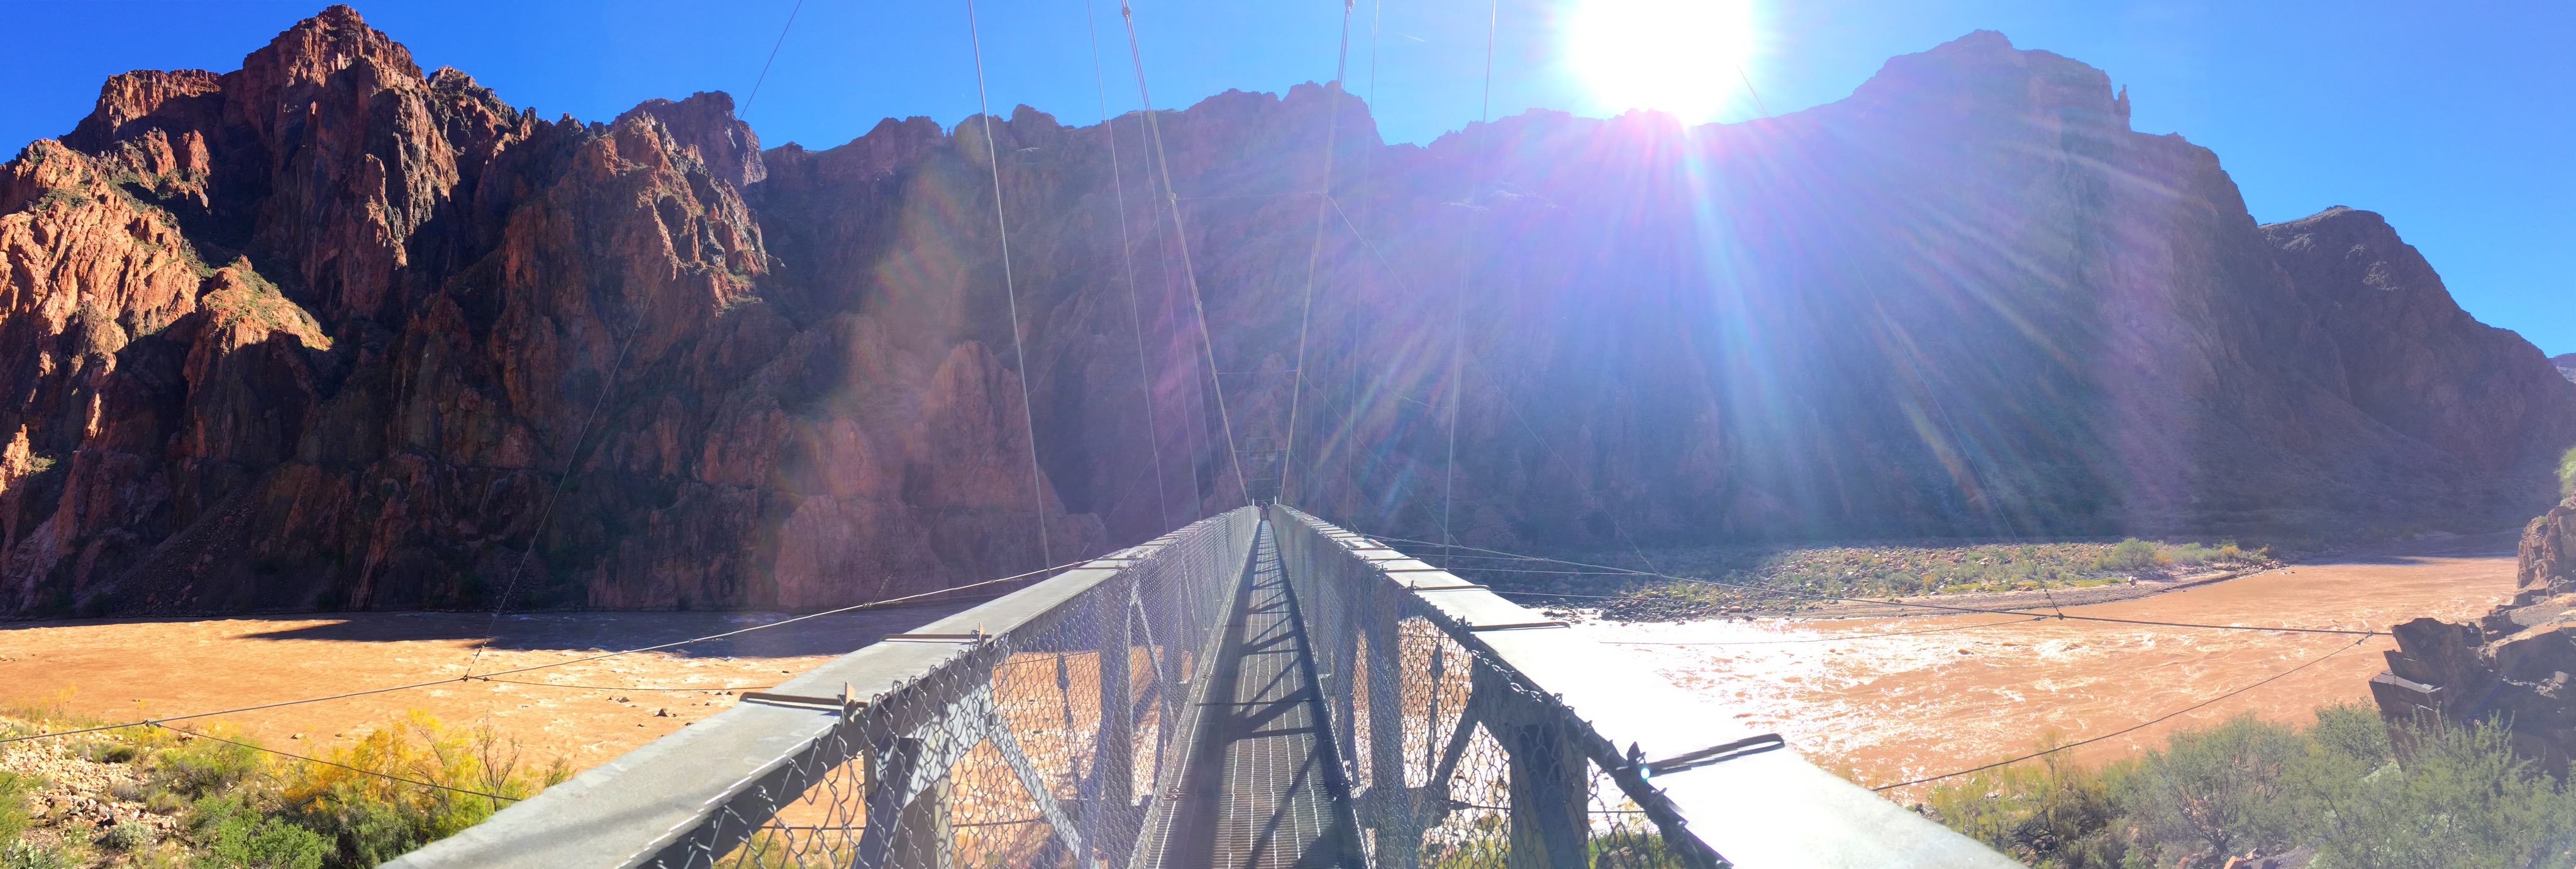
One of the dozens of bridges crossing the canyon between both rims, around mile 25.
I stripped off my leggings and jacket. The day was heating up, and I could feel the sun draining me even though the valley floor had a high of 67 degree Fahrenheit. The heat-absorbing walls of the Grand Canyon would trap the sun and raise that high temperature to at least 80 degrees.
Three miles down the North Rim, I ran out of water. No problem, I thought, knowing that in 3.3 miles I’d pass by Cottonwood Campground where I could refuel with the pump I saw campers using that morning. Unfortunately, and as Murphy’s Law would have it, there was a pipeline break during the morning and the Cottonwood faucets were turned off by the time I arrived. I normally wouldn’t have thought twice, but I’d been going three miles, and had 7.5 miles ahead of me, and with the increased heat of the canyon – I didn’t know what kind of shape I’d be in after over 10 miles running without water.
Lucky for me, I ran into a couple with the same problem, except that their problem had an easy solution: A small, palm-sized water filter. They filled me up using water from the river and I took off again.

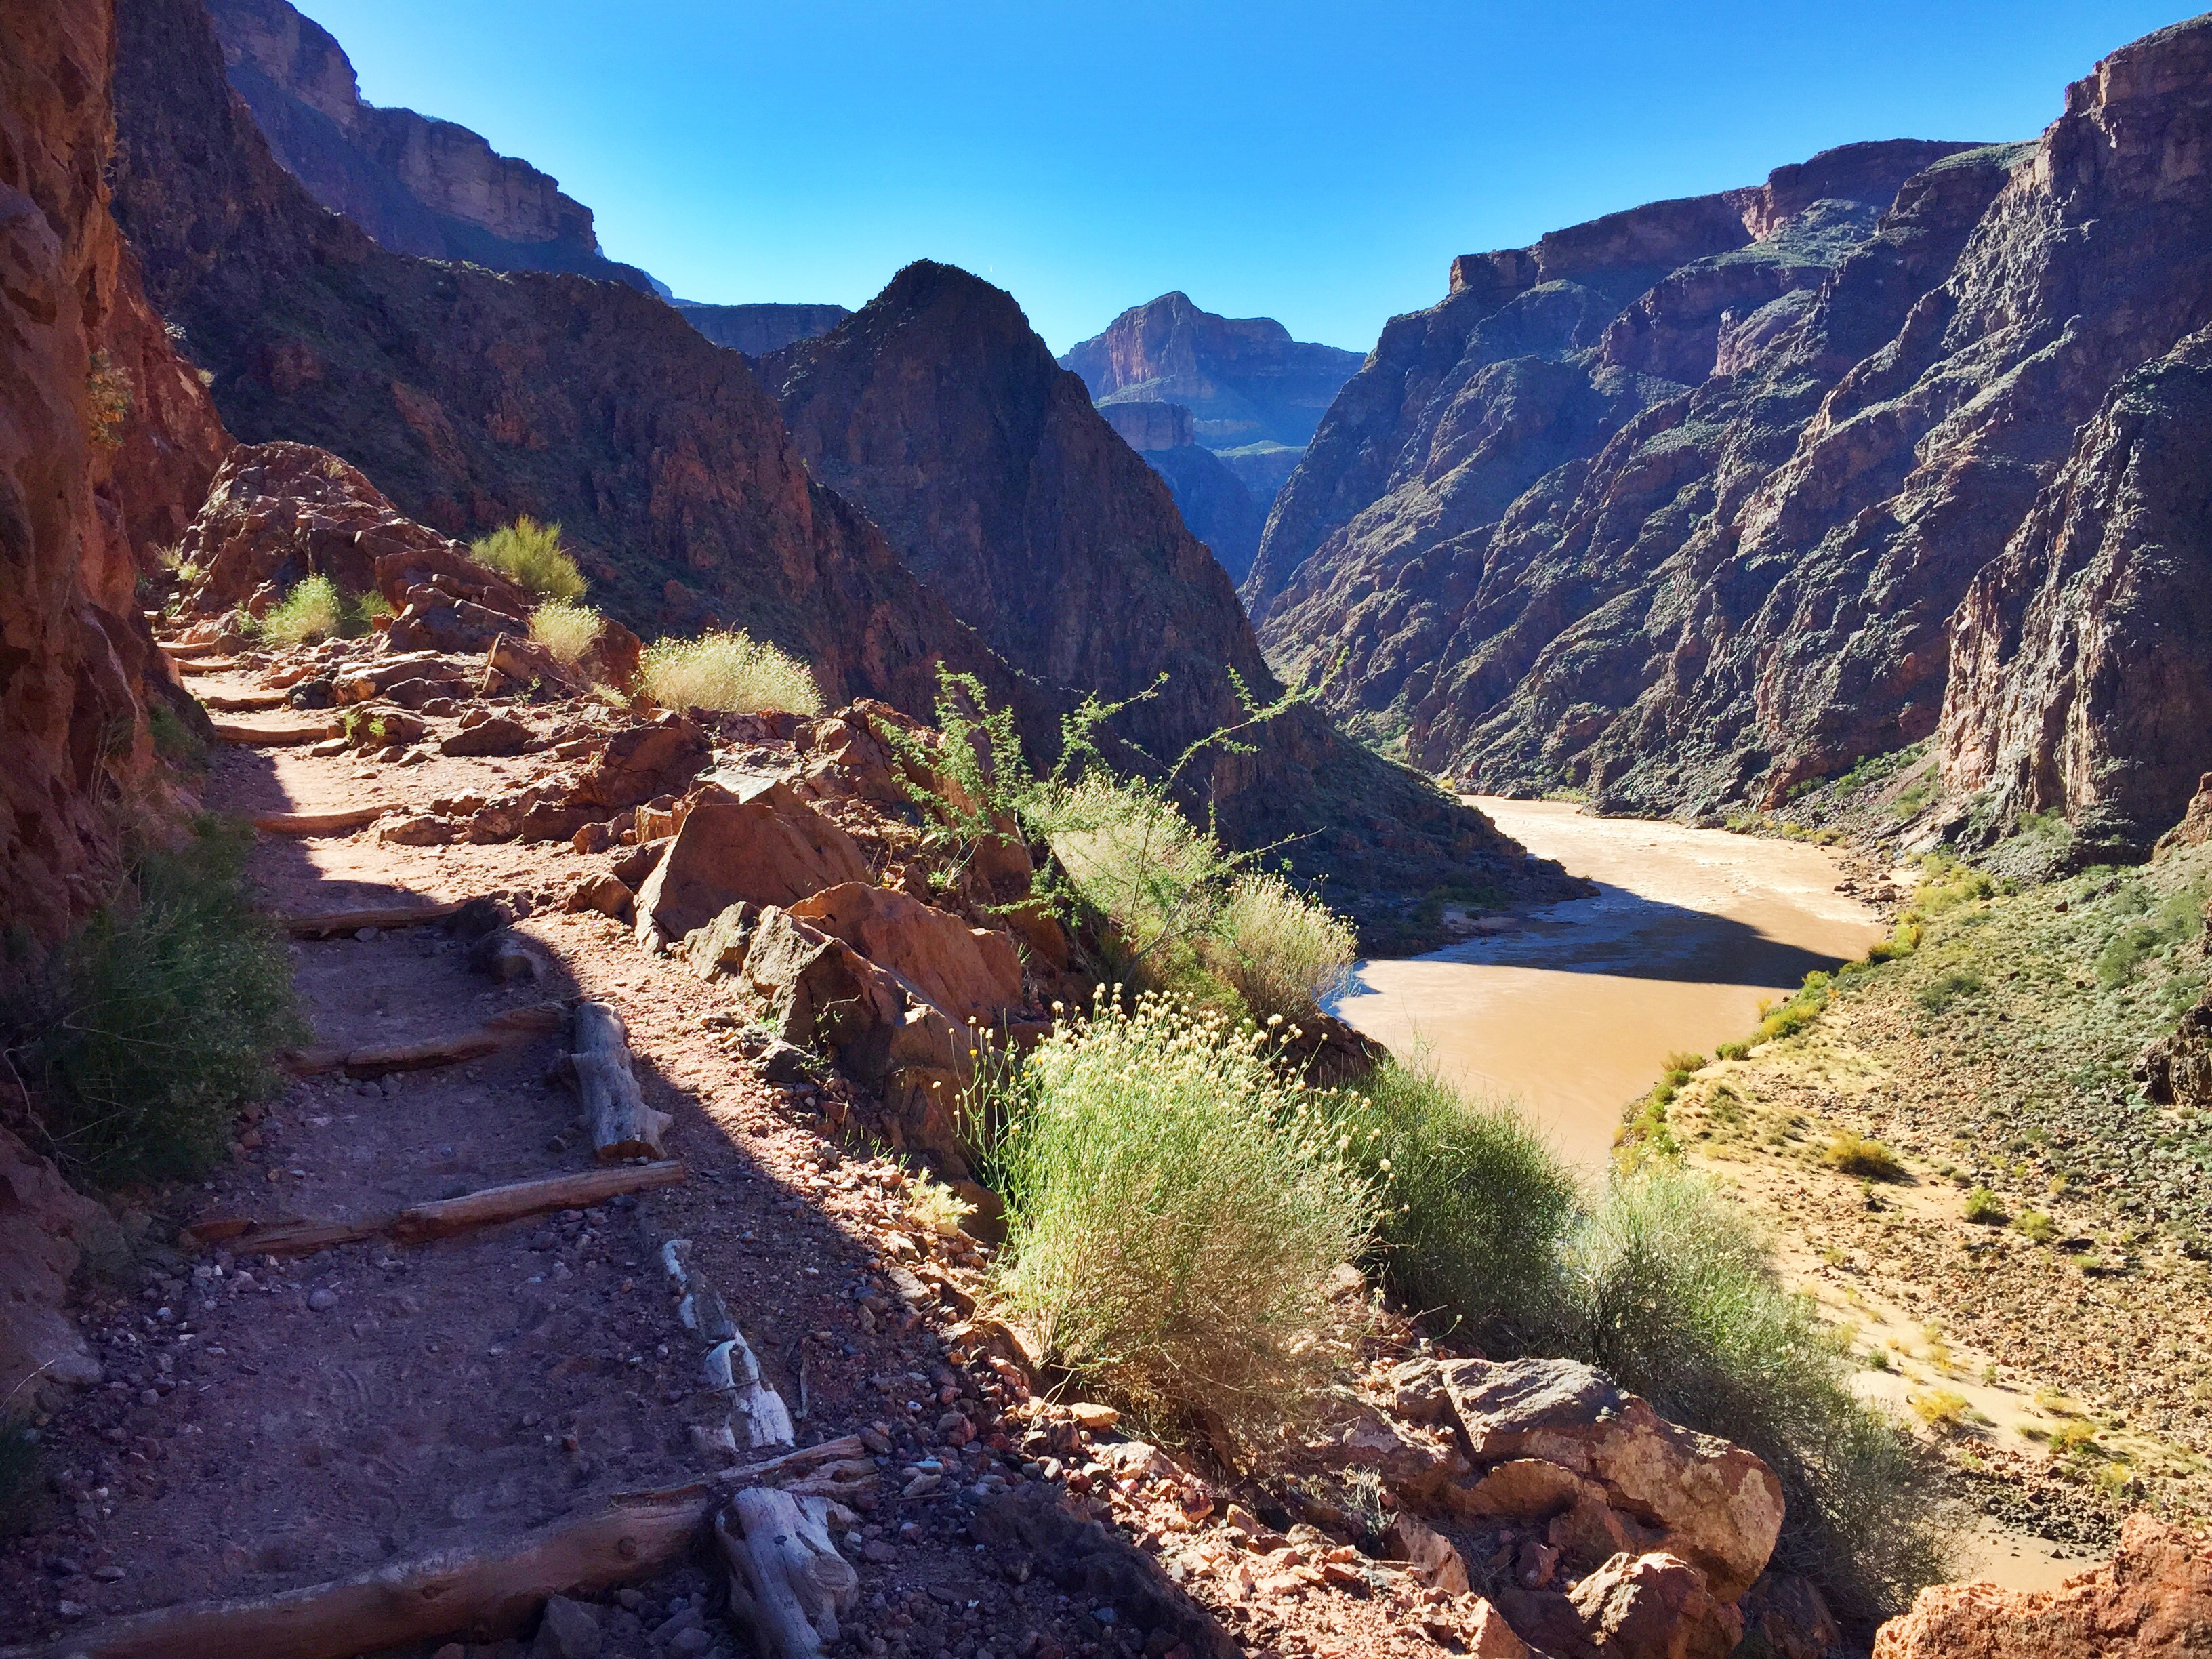
Flat, slightly-downhill traverse to Phantom Ranch, around mile 28.
As I mentioned before, this must have been my most favorite part of the trail, winding along the Colorado River with the canyon walls jutting up to either side of me. I also took more time here, running when I felt like it, and following the pace of other joggers and hikers when I wanted to give my legs a break.
Nina and I had met a hiker that morning who I ran into here again. This man could not have been younger than my parents, and had hiked the R2R2R the day before, repeating his journey today. He followed up by saying “Yesterday was my 90th time completing the rim to rim to rim, so today must be my 91st in 12 years.” Passing him a second time, he gave me a slap on the back and said I had a great pace for my first time. I ran on.

Getting close to Phantom Ranch, around 33 miles.
Reaching Phantom Ranch, around mile 35.5, was the first time I really refilled my water since we’d started. I loaded up a little over 2 liters (since I was carrying a 3 liter bladder), but the stale taste of water nauseated me in the shade. So I walked over to the general store, bought a large, ice-cold lemonade, and sat on the porch with my feet kicked up, checking my map and chatting with other hikers I’d met throughout the day. After halfheartedly trying to eat part of my second Clif bar, I downed my lemonade and raced ahead of a mule pack to complete the last 10 miles of my journey.

Crossing the Silver Bridge to the Bright Angel Trail, around mile 36.

Looking back on the Silver Bridge over the muddy Colorado River.
I pulled my trekking poles out for the second time of the day for this final ascent. Crossing the muddy Colorado River across the famed Silver Bridge of the Canyon, I knew I wouldn’t actually see my goal of the South Rim for another few hours. Even though you’re slowly pulling yourself up towards the sky, the Bright Angel Trail weaves within the canyon for miles before dropping you out at its busy trailhead.

Ascending the Bright Angel trail, still near mile 37.

This was the first part of the trail that started to really hurt. I’d been hiking alone for a few hours, passing slower groups, and eventually found a park ranger catching up with me. I asked if I could follow her to match her pace since she was moving quicker, and we talked for about an hour until we reached Indian Campground.
This ranger had plenty of questions for me, since she said people completing the Rim3 were usually, well, running. She mentioned that at the park opening this year on the first of May, 700 runners showed up to attempt the entire 46 miles. Many wouldn’t make it. Additionally, she said she couldn’t believe how many people attempted the R2R2R during the middle of the summer, when heat in the canyon rises to 130 degrees. Overall it sounded like runners and hikers are generally ill-prepared, without having done much environmental research, resource planning, or physical training.
Since the Grand Canyon’s limited resources (water, human waste disposal) isn’t meant for the numbers that recent influxes have been bringing in, the Rim to Rim to Rim challenge may soon see a permitting process.

Getting close to the Indian Campground, around mile 41.

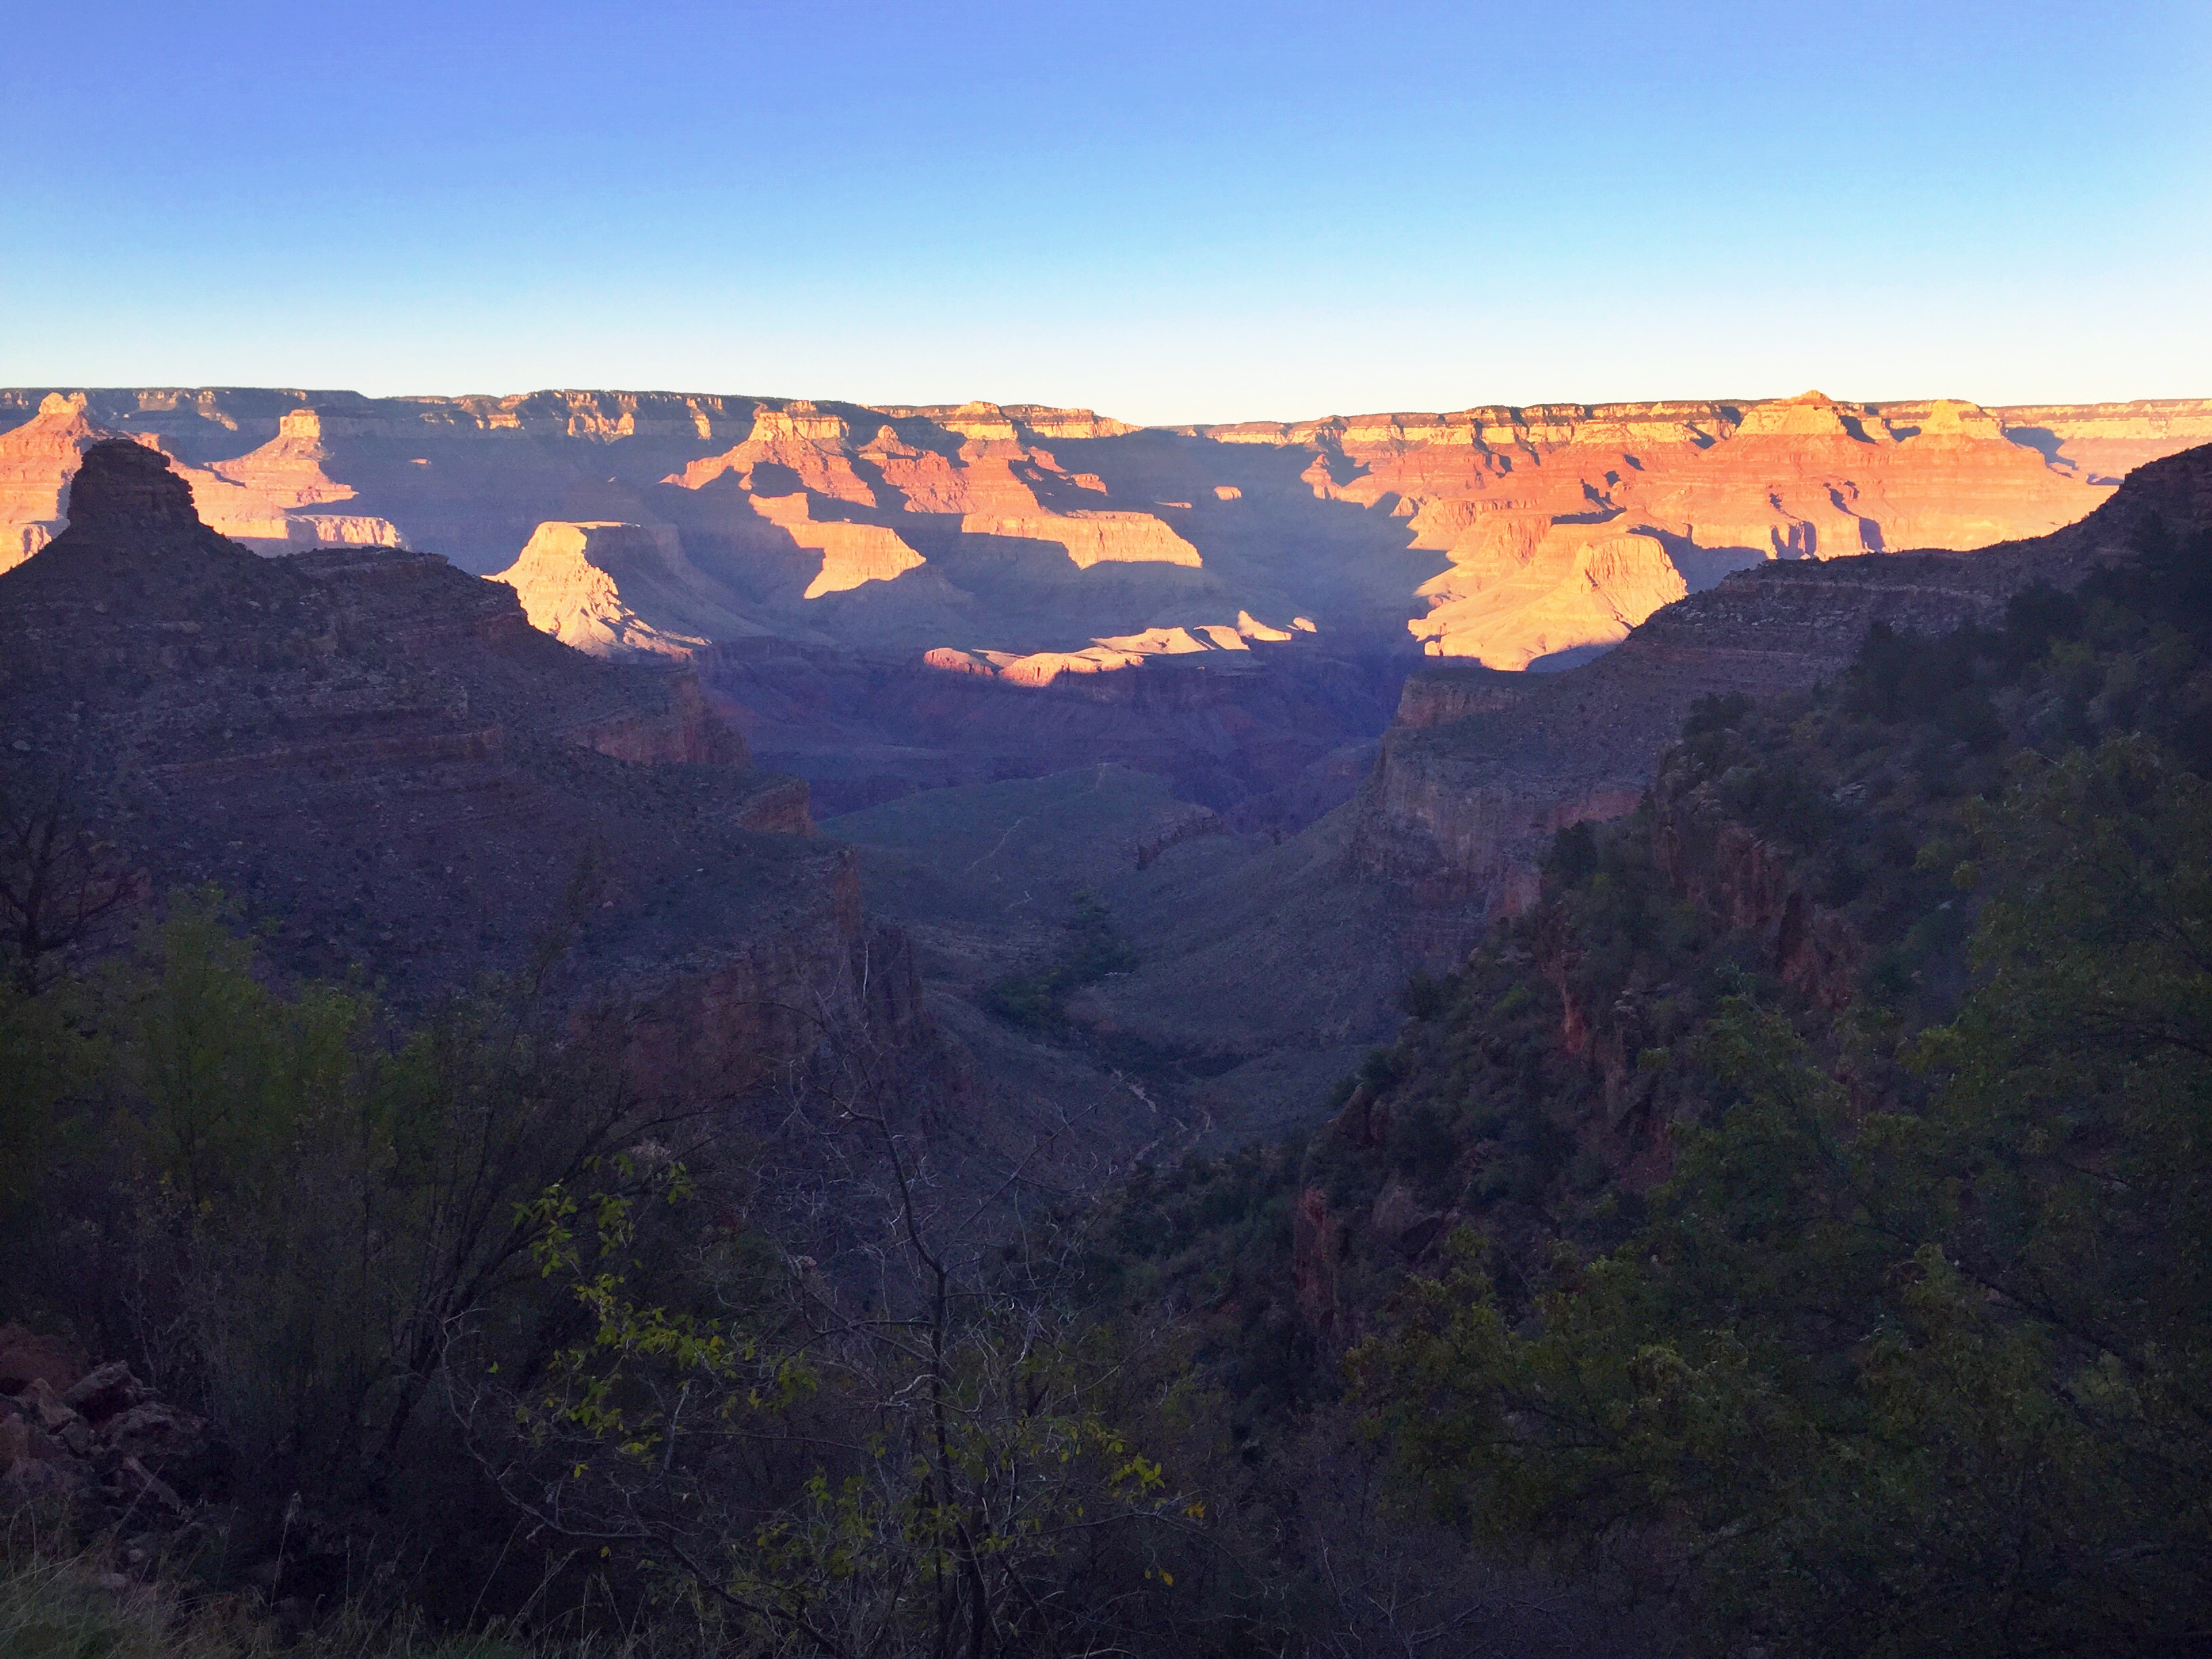
Looking down at the valley, partway up the South Rim, around mile 42.
Those last 4.5 miles from Indian Campground… whew. Even though the Bright Angel Trail was much more gradual and all-around easier than our descent down the South Kaibab, there was just something about passing the 40 mile marker that made my legs want to give out. So I just straightened my back, held my head up, and powered through past day hikers, backpackers, and leisure walkers. I had a goal: Reach the South Rim by sunset.

Mile 43. So, so close.
The Grand Canyon turned out to be like so many of the other beautiful places I get to visit, as a person who loves exploring new trails. It was new, exciting, jaw-dropping, and completely worthy of the attention and praise it receives as one of the Seven Natural Wonders of the World. But like so many other places, photos and words don’t do it justice. I could have taken a hundred photos and written a dozen blog posts, but nothing could encapsulate the way the air cooled down as the sun began to creep behind the canyon walls. Nothing could capture the happiness and peacefulness on trail-goers faces as they walked with their necks craned upwards, smiles smeared across their faces. Maybe even I’ll forget how that felt, and how this place looked like, until I come back again.

Mile 45, counting down the minutes until the light fades from the day over the canyon.
I reached the top of the Bright Angel Trail at 5:45pm, just 5 minutes before the 15 hour goal Nina and I had set – though I was a full 45 minutes behind her, she ended up beating her previous time by over an hour! Reflecting on the time I spent alone, I was happy I had taken more breaks, stopping for more photos, and got to kick my feet up at the lodge before my final trek… but at the same time, all I could think about was how much faster I could go the next time.
I ended my day without any broken spirits or blisters. In fact, I was only sprawled out on our hotel room floor like a starfish for a couple of minutes before showering and dragging our sore bodies to the Bright Angel cafeteria, where we enjoyed sugary drinks and carbohydrate-loaded dinners.
If not for the deliciously addictive lemonade at Phantom Ranch, I’ll be back to see the Grand Canyon one day again soon.

Mile 46, sore but happy smiles.
QUICK STATS
- Length: 46 miles
- South Rim: 6,800 ft.
- North Rim: 8,000 ft.
- Elevation gain: ~ 11,000 ft.
- Time: 14 hours 55 min
36.106965
-112.112997