Travel with Purpose: Why You Should Trek Through Langtang Valley This Fall

As seen on The Outbound Collective.

Nepal is the gateway to the Himalayas, home of the tallest mountains in the world. For decades the country has attracted global attention for its magnificent beauty, rich culture, and welcoming communities. However, the last year has cast a different type of spotlight on this third-world country that encourages foreigners to visit for new reasons.

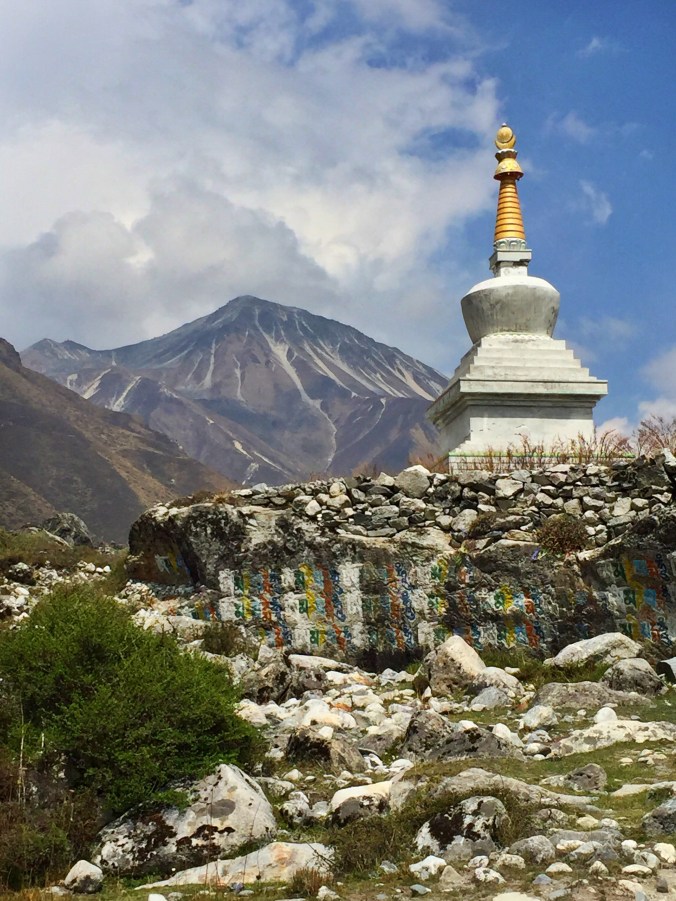
The earthquake that devastated Nepal in April of 2015 did more than just take lives and damage buildings; it ruined the tourism industry in many remote village who depend on foreign visitors to maintain their livelihood. The Langtang Valley experienced some of the worst of this impact because of its position between two skyrocketing mountain ranges, and what was once one of the top destinations in the country, quickly became one of the least visited. Nepal isn’t looking for volunteers or Peace Corps members; they need your business as a trekker.

img_4474-2

Rockfall plummeted down both sides of the valley during the earthquake, leaving many buildings irreparable and eventually abandoned.


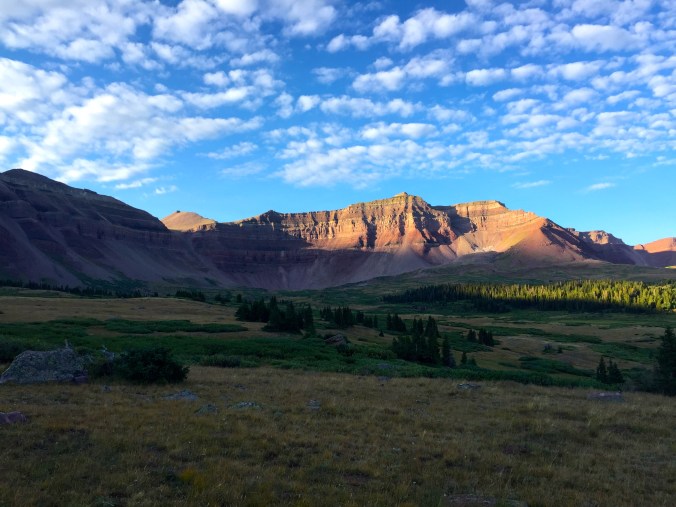
Nepal’s most popular trekking season is from September through December, when the temperature is moderate, precipitation is minimal, and the views are crystal-clear. Here’s why you should pack your bags and plan a trip to the high hills this fall.


Nepal is one of the world’s top destinations for epic trekking. That’s because of its…

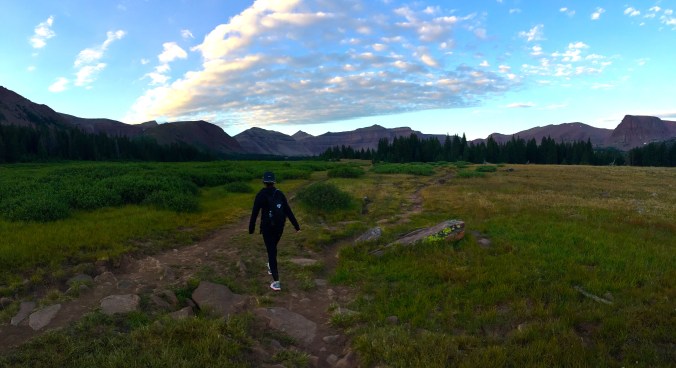
  • Accessibility: Most of Nepal’s trails are easily accessed, and more importantly, they’re friendly to both beginner and experienced hikers. Visitors have the opportunity to shorten or lengthen their trek based on their personal skill and preference.
  • Affordability: Nepal is notoriously shoestring-budget-friendly, in that its lodging, food, and recreation prices are some of the lowest in the world. Plus, you can hire a local guide to escort you during your trek for just $10-20 per day.
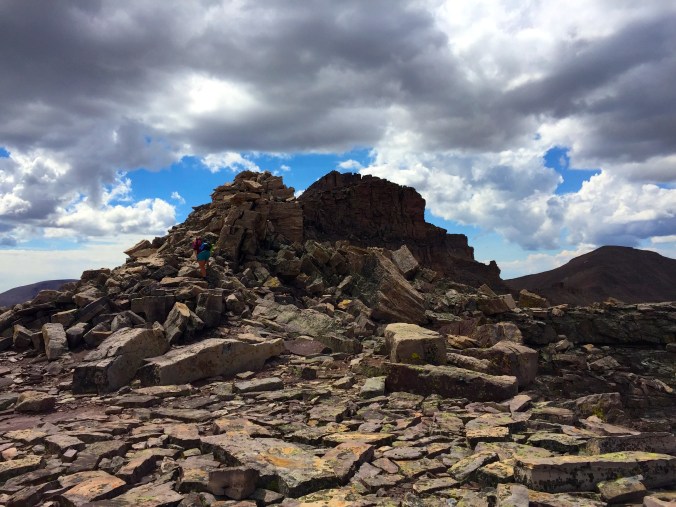
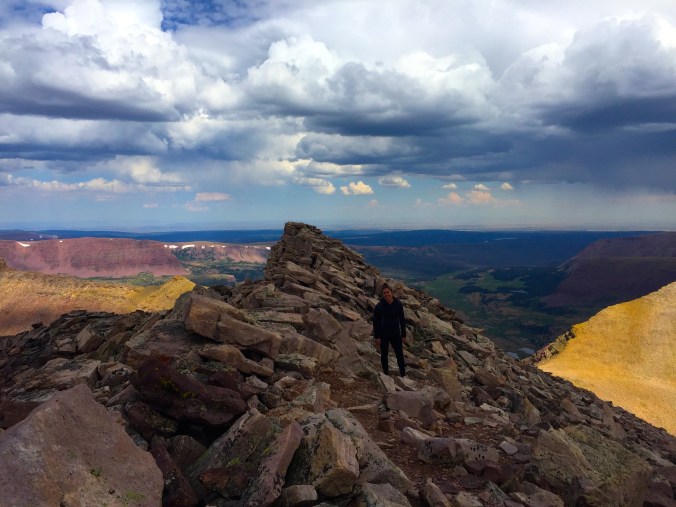
  • Beauty: Nepal is the best way to discover and explore the earth’s highest peaks, while experiencing an incredibly vibrant and unique culture. It’s truly the best of both worlds.
img_4482-1

Rebuilding and construction work begins before dawn and ends after dusk, through rain or shine.

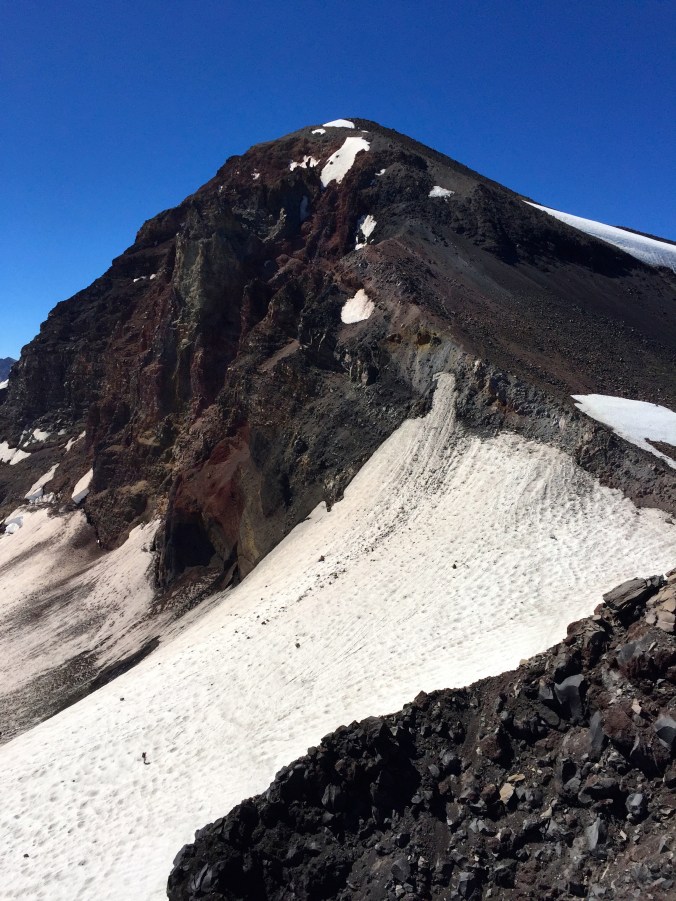
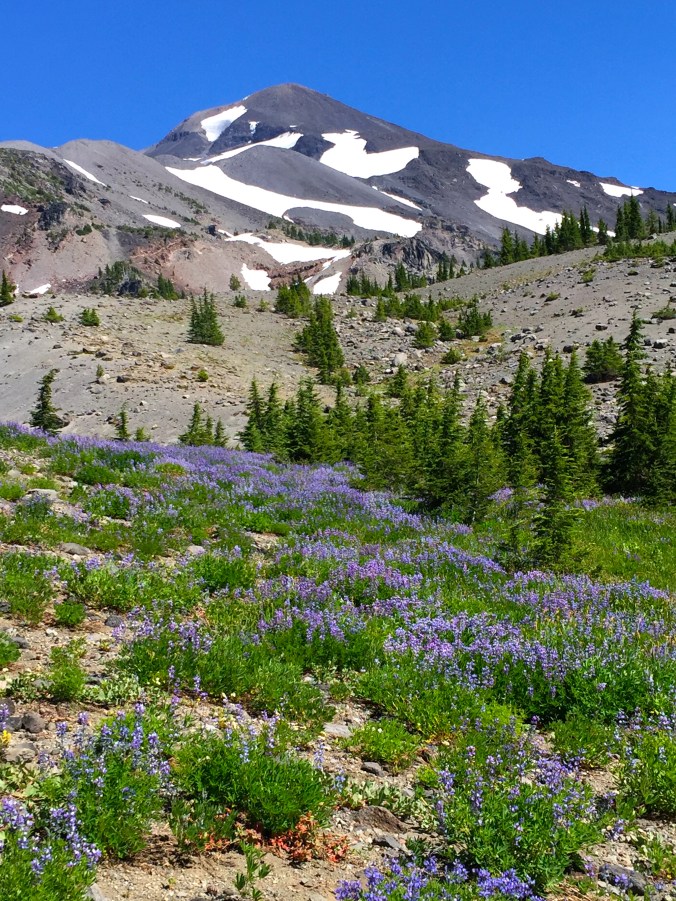
The Langtang Valley offers an unparalleled glacial valley experience. You’ll want to see Langtang for its…

  • Proximity: The Langtang Valley is the closest trekking region to Kathmandu, reachable by public bus in five hours, or by a private car in half that time. Villages are close to one another, so you’ll never go long without finding a restaurant or lodge for eating or sleeping.
  • Flexibility: Unlike the difficult-to-reach Annapurna and Khumbu regions, Langtang treks can be completed in as little as 3 to 5 days for travelers with a short time limit.
  • A Community in Need: The Langtang region is open for business, but much of the outside world doesn’t know this yet. Earlier this year gaps of communication left Kathmandu city-goers with the impression that the entire valley was still under construction – but in truth, they’ve been open all along. Lodge owners are desperate for the tourism they’ve built their livelihoods on, and they need your business now more than ever.

img_4478-1

How you can help…

  • Hire Local Guides: From the hustle and bustle of Kathmandu to the smallest villages perched beneath a mountain pass, there are always local guides ready and willing to assist you with your journey. For a small price, you’ll get advice, direction, and support from a person who knows the trails best.
  • Take the Road Less Traveled: Western culture teaches us to stick with the crowds – but in Nepal, it’s better to visit the less-populated establishments. Eat at an empty restaurant, or purchase goods from the shop nobody is going to. You could be the only customer a diner receives all day; and you will be thanked and remembered for that.
  • Give: Spend your money and time with lodge owners, buy an extra cup of tea or one of the pieces of jewelry that your host mother is selling. Nepal is by and far more inexpensive than your life back home; you can afford to treat yourself.

img_4479

The April 2015 earthquake was devastating, no doubt, but one of the most important takeaways I’ve seen firsthand is the resilience and genuine happiness the Nepalese have in the face of tragedy. Lodge owners, construction workers, and even students band together to rebuild their communities and livelihoods. It’s the people – not the mountains – that keep recurring visitors coming back, and who make this country one of the top destinations for tourists worldwide.

Go and see for yourself.

Hike to Utah’s Highpoint: King’s Peak (13,527 ft.)

Summit the tallest peak in Utah at 13,527 ft. on a 2-3 day backpacking trip – or do as we did, and knock it out in a day.

img_5983

King’s Peak peeking its head out at sunlight towards the left.

Overview: 28.8 miles, 4.1k elevation gain

This hike isn’t overly difficult; it only takes endurance. Between the 3 hour drive to the trailhead from Salt Lake City, to the seemingly endless 12 mile approach to the base of King’s Peak, this hike makes for a hell of a day.

Christina and I set our alarms for 12:30am and were on the road out of SLC by 1am. We arrived at the Henry Fork Trailhead (9,400 ft.) and were on our feet hiking by 4am. We wouldn’t reach the car until after 7pm that evening, making our day a little longer than 15 hours.

img_5977

Hiking through Henry’s Fork Basin at sunrise.

The good news is that the elevation here is gradual. In fact, the first half dozen miles seem nearly flat (especially if you’re setting out in the dark and focusing more on not tripping over the rock-and-root-filled trail). The distances I read online were confusing and felt inaccurate once we had hit the trail. Here are the big landmarks we recognized for the first part of our day:

  • 3 miles from TH: Sign for Alligator Lake Trail off to the right
  • 5 miles from TH: Sign for Elkhorn Stream Crossing, follow this to the left
  • 9-10 miles from TH: Crossing Gunsight Pass

The main trail will take you up the left/east side of the valley, where you’ll see Dollar Lake and Henry’s Fork Lake from a distance. Most people camp around these lakes before going for the summit push a day later. Be wary of campfire and human waste restrictions around this area.

img_5987

For the first 9-10 miles, the main trail is clearly marked and easy to follow. Beyond Gunsight Pass (11,900 ft.), the directions we’d read online are sparse and unspecific. You have two options from the top of this pass:

  1. Head straight down into Upper Painter Basin and lose around 500 ft. of elevation. Follow the clearly marked, rocky trail around and up Anderson Pass to the base of King’s Peak.
  2. Turn right at the top of the pass and use a “shortcut” to avoid losing elevation. There’s a faint climber’s trail marked with cairns along this mountainside (which is the base of Gunsight Peak) that leads you straight to Anderson Pass. From here, you can clearly see where you’ll meet up with the main trail and where people start off on the North Ridge Route of King’s Peak.

On both the Anderson Pass shortcut and on King’s Peak itself, there are cairns virtually everywhere, which makes it difficult to decide which markers to follow.

img_5991

img_5992

The trail loses itself on the mountain itself as we head towards the summit in the far-off distance.

One clarifying detail about this climb: This route is a 12-mile approach to the base of King’s Peak, where the climb itself turns into a class-2 scramble. There’s a lot of hand-and-foot work involved towards the summit, and we had to warn a couple people with dogs about this on their way up.

img_6005

All smiles at the summit plaque!

Standing on the summit of King’s Peak is quite a thrill – you can see for endless miles in every direction, and peer the dozen miles from where you came from. If I was doing this hike over again, I’d begin even earlier to avoid the unpredictable weather patterns I discovered during my brief visit to Utah…

We’d read about a 97-degree, crystal clear weather forecast for the day we chose to hike – and I got my first lesson into the Mountain Time Zone’s frequent and unrelenting thunderstorms. Christina and I were stuck in nearly three hours of pouring rain and scattered snow, with thunderbolts screeching down to the valley below us. And of course, we had left our rain and cold weather gear at home.

img_5995

Eventually the skies did clear up, and while we may have not made the best navigational decisions in our haste to escape the storm, we finally found ourselves below Gunsight Pass and facing the endless stretch of flatness to the car. Those last five miles were brutal to say the least, and I hope that Christina has forgiven me for the hell I put her through.

Our Fitbits measured a total of over 30 miles and 5,000 ft. of elevation gain when it was all said and done. No doubt this was from the few “interpretations” we took on the trail, but at the end of the day all that really mattered was that we made it back to the car in one piece.

If you’re looking to attempt this one-day’er, bring plenty of water, food, layers, be sure to learn from our mistakes – and have fun!

Middle Sister Summit Climb (10,047 ft.) via Renfrew Glacier

If you’ve been anywhere near Central Oregon, you’ve seen the Three Sisters Mountains dominate the skyline. Each of these volcanoes exceeds 10,000 ft. and are some of the highest peaks in the state of Oregon. Though they are truly considered sister peaks to one another, each has unique climbing routes that require varying physical conditioning and gear.

Note: Some (crazy) people actually climb all three in one day. Check out this local man who completed the total traverse in 6 hours & 39 minutes.

Middle Sister is navigationally in the middle of the three, is the shortest of the three, and is quite literally in the middle in terms of difficulty of its North Sister and South Sister counterparts. This route requires good knowledge of route-finding and backcountry travel as the bulk of the day requires off-trail traversing and good navigational instincts.

img_5842-version-2

This post describes a western approach from the Obsidian Trailhead (for a good description of the eastern approach, check out this article on Summitpost). This trailhead is easy to find, right off of the historic Highway 242, just plug it into Google Maps. You need to acquire an Obsidian Limited Entry Area Permit before you go – only 30 hikers/day allowed on this trail. Call, email, or visit the McKenzie Ranger Station to do so.

Background: I’ve been up this mountain three times now (summiting once) and still don’t know which precise route I’d recommend. It’s all up to personal preference and interpretation. There are camping opportunities available at Glacier Creek and other areas along the PCT, but we chose to complete this in a one-day trip.

img_5872

You have a couple options starting out on the Obsidian Trail (#3528).

First option: Take a left after about 3.5 miles at Glacier Way (#4336), which will take you right to the start of an “unmaintained climber’s trail” sign and up the Collier Glacier.

Second option: Take Obsidian Trail all the way to a T-junction at the Pacific Crest Trail.

  • Go left (north) here to reach the “unmaintained climber’s trail” sign and continue towards the Collier Glacier on your right (our ascent).
  • Go right (south) here and follow a dry stream bed up a colorful, flowered valley towards the Renfrew Glacier on your left (our descent).

Whichever way you go, you’ll be directly facing both North Sister (to your left) and Middle Sister (on your right). Aim for the saddle between the two.

Pro tip: Use your crampons early on. The rock is incredibly difficult to navigate; you’ll save a lot of time by doing as much snow + glacier travel as possible (take it from this guy and this guy).

img_5843

Some people complete both mountains in one climb, often camping overnight in the saddle between the two, but it should be noted that North Sister’s summit requires difficult class-4 climbing where a rope and helmet are mandatory. Furthermore, North Sister is infamous in Cascade climbing for its rotten and crumbly rock – you should expect plenty of loose rock and rockfall should you attempt this climb.

Once you reach the saddle between North and Middle, continue to your right by scrambling and bouldering over razor-sharp volcanic rock. Once you reach Middle’s ridge, you should find a faint climber’s trail that leads you up the final 800 feet to the summit. Parts of this climb are super sketchy with vertigo-inducing exposure. Like the rest of the climb, it’s easy to get off-trail, so go slowly and think ahead when visually planning your route.

img_5844

Looking up Middle Sister’s ridgeline to the summit. You can see a hiker coming up the snowfield on the left, which is the eastern approach.

From the top you have close-up views of South Sister, Broken Top, and Mt. Bachelor to the north, and North Sister, Mt. Jefferson, and Mt. Washington to the south.

img_5848

After ascending the Collier Glacier (slightly right looking down), we decided to descend via the Renfrew Glacier (directly below Middle Sister’s summit ridge). We wore our crampons down until the snowfield ended, and followed a large natural gully for a few miles until we eventually hit the PCT again. It was tough to find our location, even with compass and map, but we turned right and in under 2 miles joined up with the Obsidian Trail intersection again. Bear left, and continue 5.5 miles to the trailhead parking lot.

img_5874

Overall: Incredibly strenuous day, mostly due to boulder-hopping and route-finding, but an awesome and exhilarating undertaking for the truly adventurous.