The last year has been a whirlwind of international travel, more than a few successful summits, and weeks-long treks through some of the most beautiful mountain ranges in the world. I saw and did way more in 2016 than I’d ever expected, so my goals looking towards the New Year are more focused – and more local.
One huge difference in 2017 is my focus towards running. The six months I spent hiking and climbing last year left my legs stronger than they’d ever been before, and completely unfit for running. The adjustment back to a quick pace has been a long and gradual one, but the first adventure goal on my list (first full marathon) is sure to kick my butt into gear.
Things I WILL do:
- Jack & Jill’s Downhill Marathon in the Washington Cascades: My first ever full marathon, registered & ready to go with Haley on July 30!
- Timberline Trail Ultra Run (40 miles, 9000 ft. elevation): Weather thwarted our plan to complete this run in October, and I can’t wait to take on the challenge in the New Year.
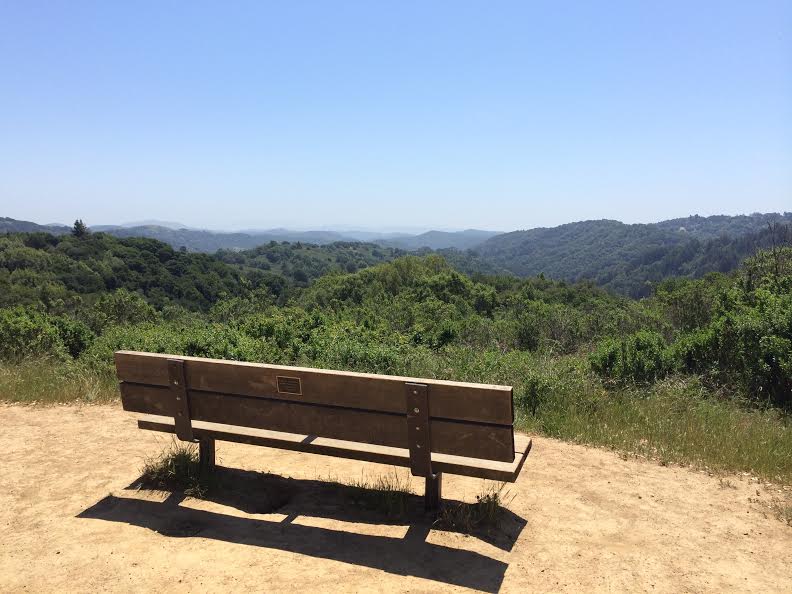
- Crater Lake Rim Run (33 miles): This road run is on unexciting terrain, but with stellar views. I’m hoping to rope in a few friends to try this at the end of June/beginning of July, in prep for our marathon.
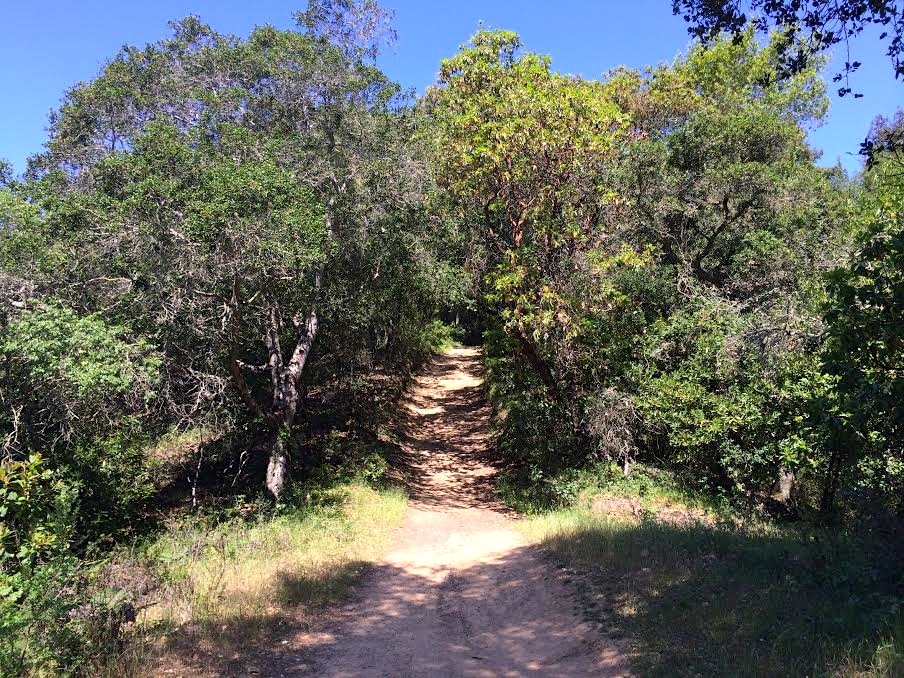
- Backpack, climb, or trail run in the Olympic Peninsula
- Backpack, climb, or trail run in the Enchantments.
- Check the rest of Central Oregon’s volcanoes off of my climbing list:
- Broken Top (9,175 ft.)
- North Sister (10,085 ft.)
- Mt. Washington (7,794 ft.)
- Mt. Jefferson (10,497 ft.)
- Three Fingered Jack (7,841 ft.)
- Climb more Pacific Northwest peaks:
- Sahale Peak (8,680 ft.)
- Forbidden Peak (8,815 ft.)
- Eldorado Peak (8,876 ft.)
- Glacier Peak (10,541 ft.)
- Mt. Thielsen (9,182 ft.)
Things I’d like to do:
- Mt. Hood Winter Ascent: This goal depends on how long winter lasts, and whether I can rally a climbing partner to join me. Any takers?
- Take a ski mountaineering course, ice climbing course, and more ropes courses at an indoor gym. Ski touring and ice climbing is something I’m totally unfamiliar with, and I’d like to learn more about avalanche safety and crevasse navigation before setting off on a winter ascent of Adams, St. Helens, and other more remote volcanoes.
- Run the Zion Traverse (50 miles, 6500 ft. elevation)
- Run the 8000 meter challenge (40 miles, 12000 feet elevation), also known as the SoCal Triple Crown
- Ragnar Trail Run Relay: Mt. Rainier
- Explore the Tetons National Park, climb Grand Teton (13,770 ft.)
- Explore Yellowstone National Park, run the Yellowstone Half Marathon
- Explore the Colorado 14ers and backpack, climb, or run
Things I’ll table for 2018 or beyond:
- Climb Denali: The PNW volcanoes I have planned for this year will gear me up for one of the most challenging mountain climbs in North America (or really, the world). This will be the fourth of the Seven Summits that I will attempt.
- Mexico Volcanoes: Pico de Orizaba (18,409 ft.), Popocatepetl (17,910 ft.), Iztaccihuatl (17,342 ft.), and/or others.
- Ecuador Volcanoes: Cotopaxi (19,347 ft.), Cayambe (18,996 ft.), Chimborazo (20,564 ft.), and/or others.
- Bolivia Volcanoes: Parinacota (20,807 ft.), Licancabur (19,413 ft.), Sairecabur (19,705 ft.), and/or others.
- Climb Matterhorn (14,692 ft.)
- Explore the Dolomites, visit the Messner Mountain Museum
- Explore Patagonia, run the Torres Del Paine Circuit & W Trek
… and I’m sure that as the year goes on, so will my list 🙂
Comment below if you’re interested in joining me on any of these adventures!